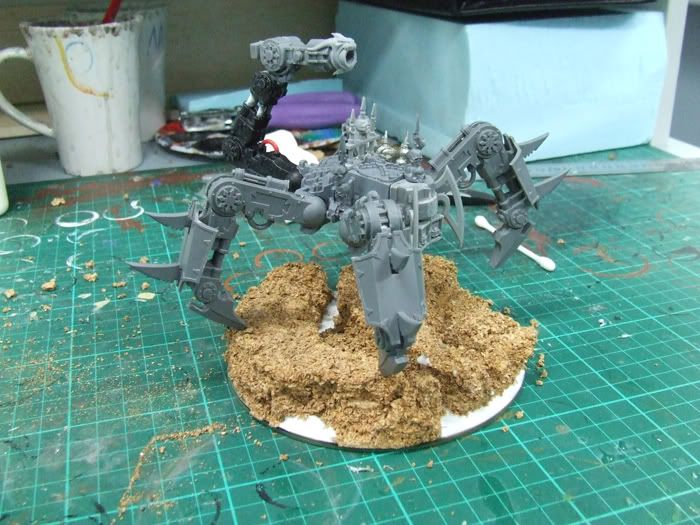
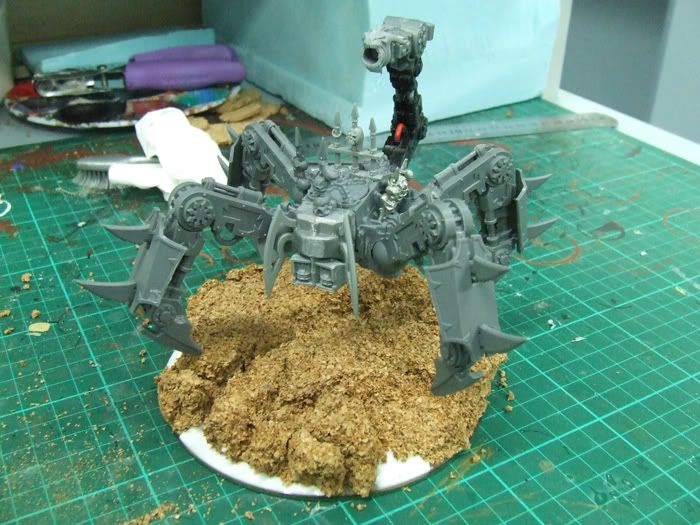
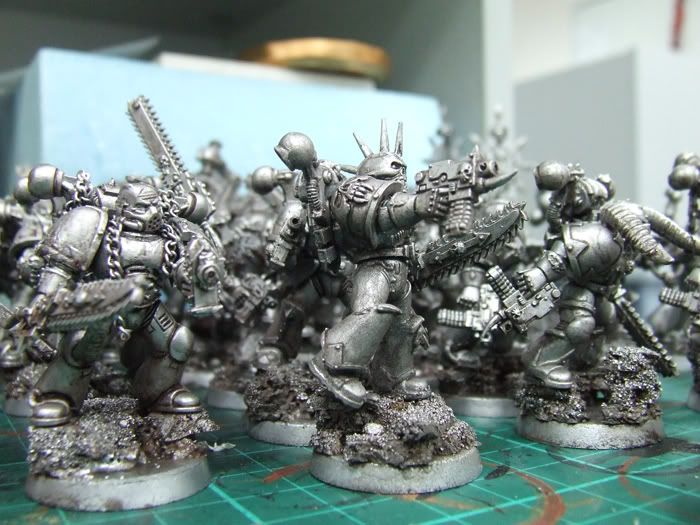
Iron Warriors uber bang bang death army

I like him. I was going to say the head does look a little too small but then all is explained with the \"Conan the Destroyer\" name haha.

\"ITS F*CKING BEAUTIFUL!!!!\" Pvt Chris Taylor - Platoon ;)
 

gaspode

New member
Ive just built myself a defiler and I have to admit, I totally got my inspiration from your \'insect-like\' defiler.

So far all your conversions are looking cool. Its going to be one awesome army once it is done.
 

Lemmingspawn

New member
Originally posted by mud duck
nicely done. Although I thought that you where going to go headless on this one.

Yeah, well...lol

I got sick of trying to come up with ideas, it just started to tick me off so I went with whatever looked ok. :)

Here\'s what I\'ve done today, just used the defiler leftovers and made a little Vindicator walker number 2.

DSCF4718.jpg


DSCF4713.jpg


It\'ll do the job and it\'s not too bad. I almost converted it to another CC defiler, but I\'ll keep it as a possessed vindicator. Roughly the same points cost anyways... :)
 

Jericho

Consummate Brushlicker
I think I like the new Defiler more than the original Ripley bot... nice work with the weapon systems :D
 

mud duck

New member
Oh and here\'s just something that I whipped up with the \"leftovers\" :cussing::p:p:p:p:p:p:D
Next you\'ll be telling us that you where bored and blindfolded :D Looks good, but the cannon looks a \"little\" wimpy, M2C.
 

COG

New member
and me wanting to do something with a defiler. well shoot not much left to do with a defiler since you seem to have the majority of styles (and probably most of the defilers GW made for the year it seems lol)
congrats the iron warriors just got a boon of mechanical creatures this year.
:beer:
 

Lemmingspawn

New member
Well, in case you guys thought I was dead or sick of this thread or both, I thought I\'d give you an update for where I\'m up to at the moment.

I must say, I\'m thoroughly sick of working on walker, I spent most of Monday trying to model a mini warhound style beast for the 3rd in the walkie vindicator sequence, and just packed it in. I\'ve worn that puppy out.

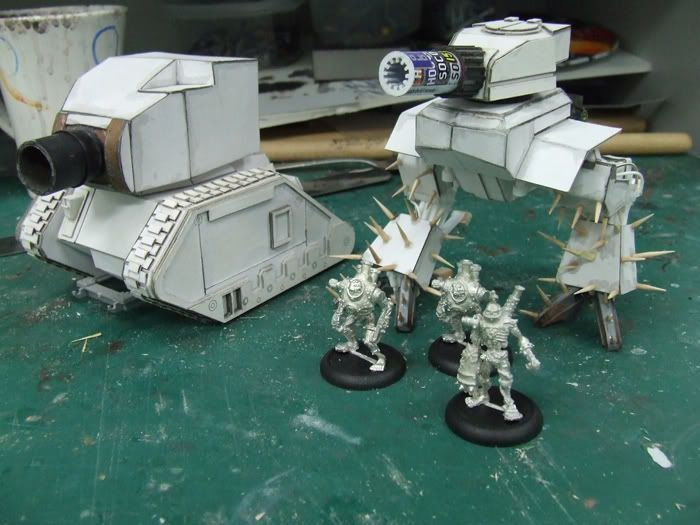
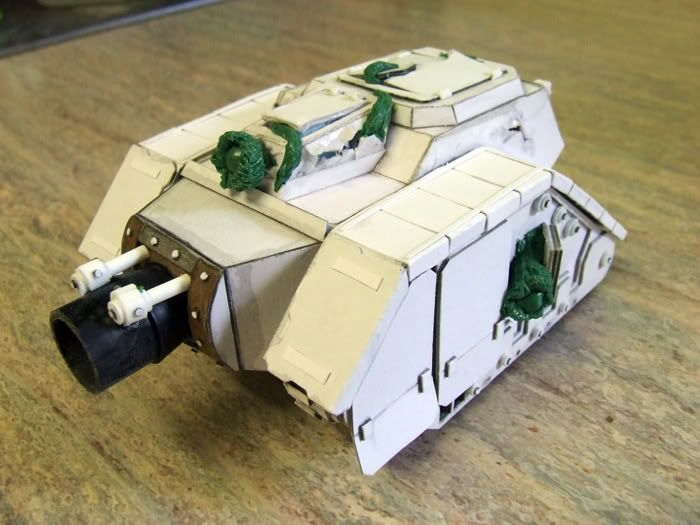
So now, to link it a bit with the baneblade I\'ll be packing into the box I have built a variant vindicator tank, which I made out of the big head and the card leman russ on the left of the pic:

DSCF4073.jpg


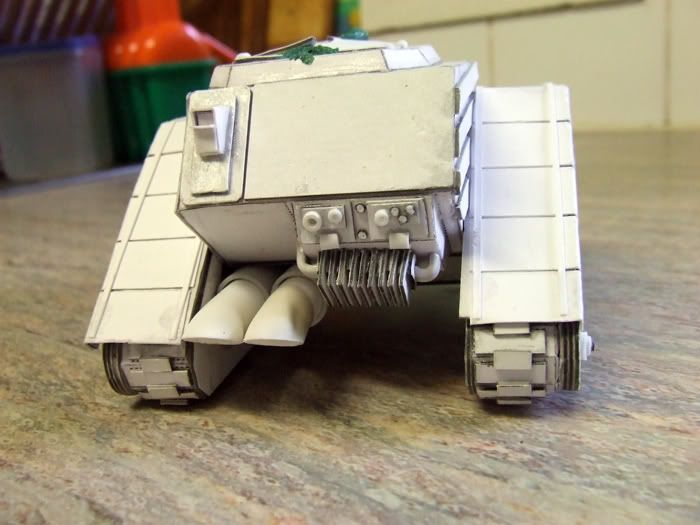
Here is where I am up to, sans chains and rivets and spikes and other type chaosy dangerous stuff:

DSCF4728.jpg


DSCF4730.jpg

On the side and on the front of the model you\'ll notice big green blobs, these are amorphous eyes protruding from the shell of the beast demonstrating how the daemonic host sees...through the cracks in the sides of the vehicle caused by it trying to burst through...
 

Lemmingspawn

New member
Well, I don\'t think the final 2 vindicators are amazing but who cares, they\'re good enough for my frazzled creative glands... All I really need area a few more of the chaos spikey bits from spikey vehicle sprues to finish it but I couldn\'t be bothered chasing any up...oh well...it still does the job.

Man I am so creatively burnt out for the moment - that means only one thing - it\'s almost painting time! !!!The crowd goes wild!!!

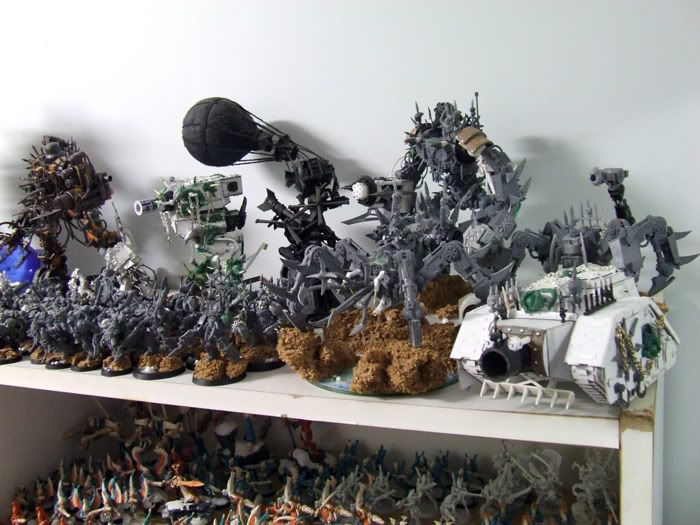
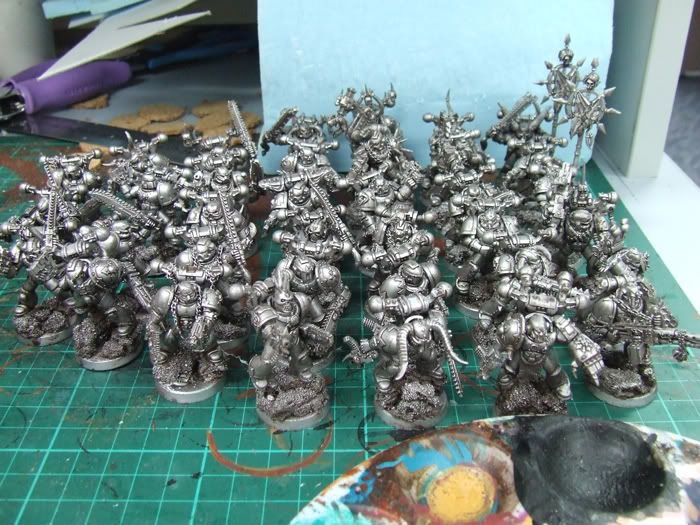
And here\'s the current pics of the army as it stands now. All I really need to complete it are 2 things. 3 chaos rhinos and the completed baneblade. I gotta get more spikey bits for that!!! And skulls!!! And.........inspiration........

DSCF4733.jpg
 

DaN

New member
I too don\'t like the \"eyes\" on the demolisher...

The plasticard work is pretty good - (Although it needs a little more chaosifying (Pointy arrows etc)) but those green stuff things just don\'t work for me...

If you wanted to show the daemon\'s eyes in some form, I\'dv sculpted them into the armour itself, or wired some LEDs to shine through a rip.

(Although, fluff-wise, I\'m not sure a daemon needs to rely on eyes in order to \"see\" )
 

Lemmingspawn

New member
Ok, well this isn\'t much of a blog post, but it\'s an indication of my success with my shortcut attempts!

Here are the problems I faced using silver undercoat:

1. Loss of details - metallic spray would be thicker in my mind
2. Gloss only available - getting the paint to stick
3. Affecting other paint going over it - enamel (shouldn\'t be an issue) and metallic (shining through)

So I have had success in all three areas!

1. Loss of detail - dulux silver is fine, just don\'t spray too much and it covers BETTER than white or black undercoat due to the paint pigmentation and it needs less paint
2. Add more detergent than I normally do to destroy the surface tension. This is only really necessary for the first couple of layers to get the paint something to adhere to
3. Inevitably this will have some bearing but at least it\'s a spray and I won\'t be getting as much cross contamination in the other paints. I\'ll just need to watch my layers, but it should actually work out better than normal because, being a spray, there\'s no chance of contaminating the wrong paint water and getting flecks in the opaque non metallic paints.

So it\'s all good and I\'ll be undercoating TONIGHT ready for painting tomorrow - I hope - :)

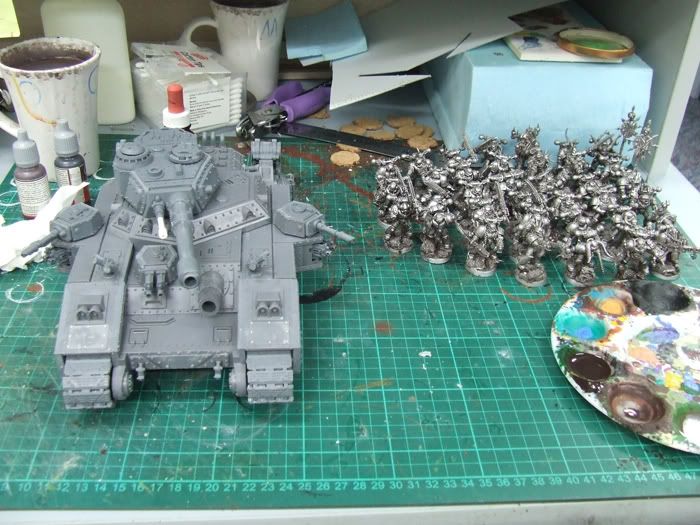
I still have a few details to add to the two newest vindicators, so I\'ll leave the undercoating of those for a little while until I get them totally finished.

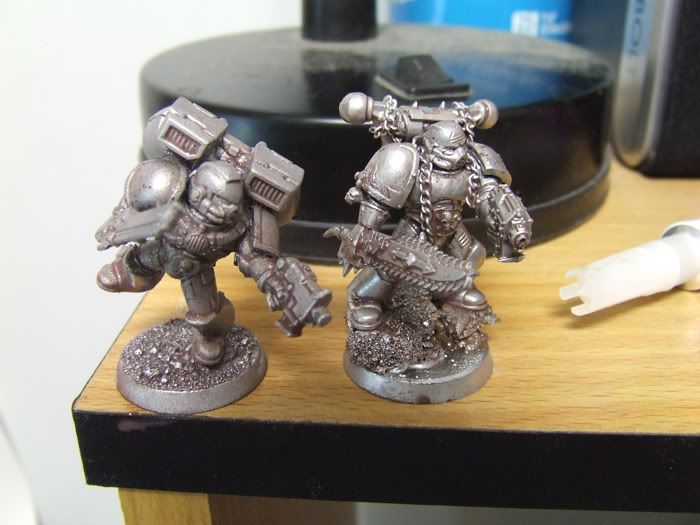
And here\'s evidence of my success - not much going on yet, but you\'ll see more soon enough my fellow modelgamers! :)

DSCF4737.jpg
 

Recoil889

New member
my favorite thing about these posts is that i get to see a quote of mine at the end, every time. that being said, lookin good, definatley shaping to be an impressive scene on the feild of battle.:drool:
 

mud duck

New member
Sweet you\'ve done my homework for me!
How well has the center of the Baneblade hold up/ keep it\'s shape? It looks to me that you didn\'t glue it down? Did you renforce it in any way? And have you magintize the sponsons/ side armour? Or just the HB/HF weapons?
 

Lemmingspawn

New member
Originally posted by mud duck
Sweet you\'ve done my homework for me!
How well has the center of the Baneblade hold up/ keep it\'s shape? It looks to me that you didn\'t glue it down? Did you renforce it in any way? And have you magintize the sponsons/ side armour? Or just the HB/HF weapons?

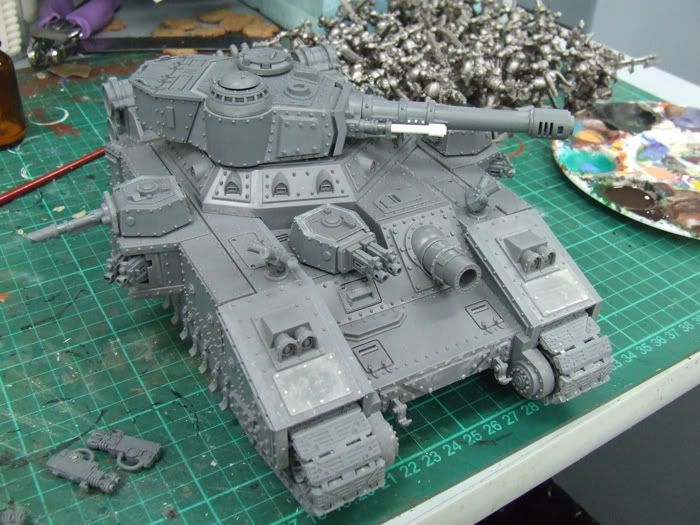
I was almost going to magnetise the side armour but in the end I just decided to glue them in place instead. The sponsons just sit there for the moment, there are little key sections to hold them in place and they are pretty good. The Lascannon turrets I am going to magnetize them but I don\'t have the magnets at the moment. The only things magnetized until I get some more magnets are the weapons.

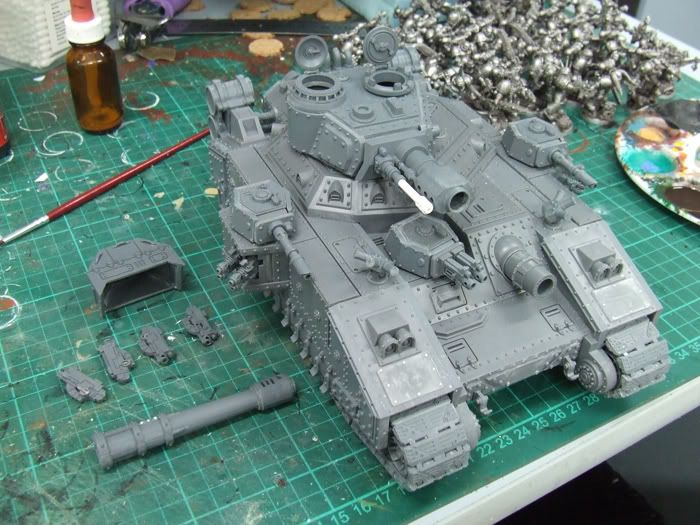
As to the centre section, there isn\'t any reinforcement in the upper section, it holds it\'s shape really well, no buckling or anything, and if something is slightly warped when you glue it down it\'s flexible enough that you can bend it to shape and hold it there while the glue sets. If it\'s not majorly bent that is...

The bottom section of the central compartment comes in two pieces, which need to be carefully glued together and it comes with 2 little reinforcement rods to assist with holding it all together. And all the bottom line of the central part is keyed into the track sections, it\'s very difficult to stuff that up if you follow the instructions.

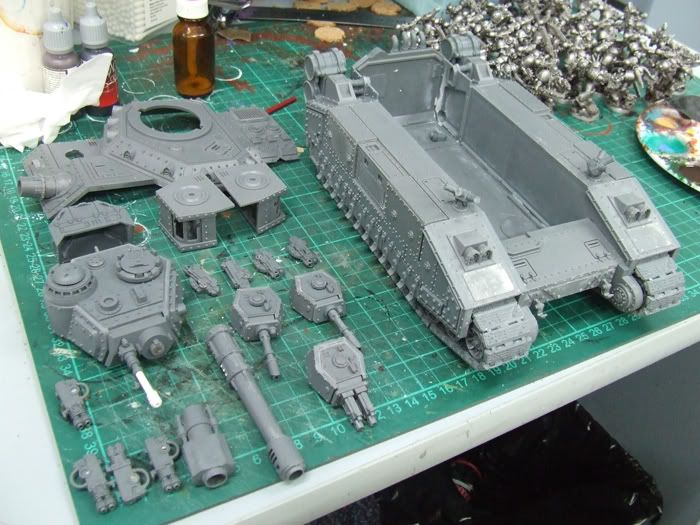
After building this kit, I have to say it is the most challenging and most fun kit I have had to put together from GW. It is also the best explained and best designed so far. Everything that I put together fit nicely as long as I a) followed the instructions carefully, making sure I knew exactly what needed to be where first and b) cleaned up each piece carefully as I assembled it.

I took all the parts off the sprues first, sorted them into what was needed for the sections and then got started, I cleaned up the pieces as I went. My advice is this a) take your time, dry fit everything b) follow the instructions carefully and don\'t rush ahead and c) be careful you have all the parts in a safe place, I had to replace the autocannon because I lost a piece during assembly. The other mistake I made during assembly was I put the fuel tanks on upside down, they can go on either way. It was easy enough to fix this because I just cut off the insignias so you can\'t tell the difference now.
 

Undave

Flockwit
When I was putting my first baneblade together I got stuck on step 10 as I was scouring the sprues for those two triangular rods. Eventually I realised that they were in fact part of the back plate and only looked like seperate pieces because of the way the \"light\" fell upon the CGI illustration.

Such a pillock lol
 
Back To Top
Top