You are using an out of date browser. It may not display this or other websites correctly.
You should upgrade or use an alternative browser.
You should upgrade or use an alternative browser.
Hi Shawn Classroom #1 for OSL... TAB
- Thread starter TAB Studio
- Start date
Shawn R. L.
New member
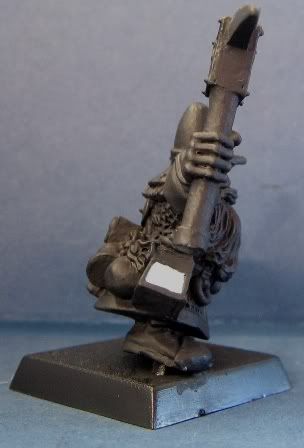
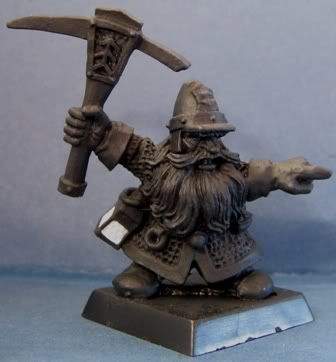
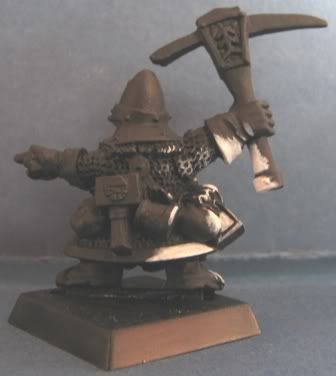
Now wash the rest of the mini with black. Get it black or close to black. Who made that mini? I really like it.
Sonnyslayer
New member
loks like a gw miner.. one of the old ones.
im diggin thru my bitzbox in search of a good osl mini.. i will return... hoyvin moyvin
im diggin thru my bitzbox in search of a good osl mini.. i will return... hoyvin moyvin
Shawn R. L.
New member
Sir JD - On my monitor it looks like your mini is medium grey. Some of this process, being that it\'s done strictly throught text and pictures, is difficult to explain. I find that starting from black is simply an easier way to start. If you have alot of painting experience mabey we can skip that step.
Hi again shawn,
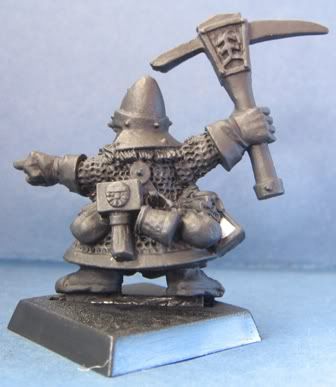
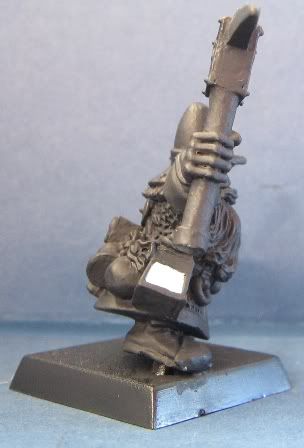
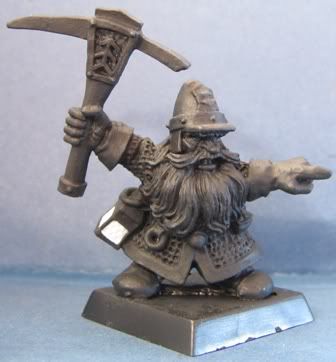
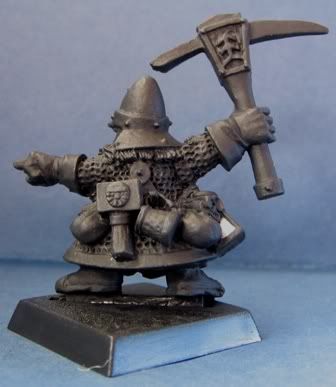
looking at the pics i posted,it does look as if the mini is grey,sorry about that. I forgot to turn off the white balance on my camera which makes things brighter. if you want i can take afew darker pics so he looks as if he is undercoated black (which he is in real life).
looking forward to your reply,
SirJD
Shawn R. L.
New member
The more accurate the pic\'s the better it goes. Could you put a link to your gallery so I can see what your painting levle is?
@shawn: I took afew more pics and they look alot more accurate now, only problem is that photobucket is down so i cant post them  . Sadly i havnt gotten around to uploading anything into my gallery apart from a LOTR mini i painted afew years back.
Let me know what you would like to do,
SirJD
Let me know what you would like to do,
SirJD
Shawn R. L.
New member
That looks better.
Simple question. How much painting experience have you had?
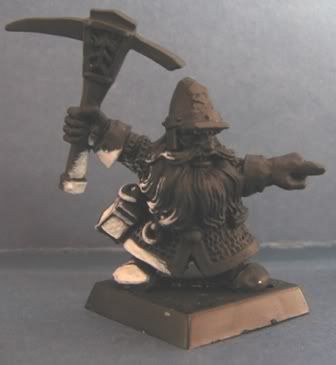
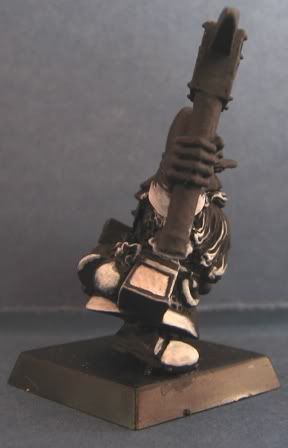
Referring to the OSL article - project where the light will hit from the lamp and paint those areas white. This time though, it dosent need to be as dense a coat of white.
Simple question. How much painting experience have you had?
Referring to the OSL article - project where the light will hit from the lamp and paint those areas white. This time though, it dosent need to be as dense a coat of white.
provoke me
New member
sorry for my lack of painting. schools starting soon and ive been using my free time to brush up on my math skills.
i hope to get some painting done tomarrow tho.
i hope to get some painting done tomarrow tho.
hi shawn,
I have been painting for 3 years now,and i have painted on commission since august last year. i would say im a pretty good painter, ill try and post afew pics of some of my painted mini\'s soon so you can check them out. ill get to work on the dwarf and post WIPs in a day or so.
SirJD
I have been painting for 3 years now,and i have painted on commission since august last year. i would say im a pretty good painter, ill try and post afew pics of some of my painted mini\'s soon so you can check them out. ill get to work on the dwarf and post WIPs in a day or so.
SirJD
Shawn R. L.
New member
@provoke me - hey, there are more important things to attend to than painting little armymen.
@Sir JD - good to know. Try to project where the light will fall and then post a pic again........did you read the OSL article? If not, do.
@Sir JD - good to know. Try to project where the light will fall and then post a pic again........did you read the OSL article? If not, do.
Shawn R. L.
New member
Fantabulous! The top one already shines..............now, on the ax handle, the wirst of the glove, the shoe and any other area where the surface curves away from the lightsource, blend it - smooth the transition to black.
In the exact opposite direction of the light source(from side/below aiming up) imagine a moon light shining down from the other side, comming down at about a 45 degree angle. With blue with just a bit of white added. Now, cover your eyes if you dont like seeing naughty words ----------- drybrush. Drybrush on the dark side. Dont get too agressive at first. Keep the blue not too dark, not too light and drybrush enough that you can definately see it and it\'s contrast with the black. I know that\'s vague but this is one of the difficulties of doing this electronically which is one of the reasons I say to take it slow.
In the exact opposite direction of the light source(from side/below aiming up) imagine a moon light shining down from the other side, comming down at about a 45 degree angle. With blue with just a bit of white added. Now, cover your eyes if you dont like seeing naughty words ----------- drybrush. Drybrush on the dark side. Dont get too agressive at first. Keep the blue not too dark, not too light and drybrush enough that you can definately see it and it\'s contrast with the black. I know that\'s vague but this is one of the difficulties of doing this electronically which is one of the reasons I say to take it slow.
Shawn R. L.
New member
Originally posted by SirJD
@shawn: thanks for that, ill do that right now, thanks for your help
SirJD
No prob. Just throw big piles of money my way!lol
@Shawn:Im all out of big piles of money sorry 
PS: Im having a little trouble with blending the white to black, should i wet blend it or just highlight it but backwards? (white-black) ?
EDIT: No worries about the blending,ive worked out a way to do it, and it looks pretty good, ill post WIP pics tomorrow
PS: Im having a little trouble with blending the white to black, should i wet blend it or just highlight it but backwards? (white-black) ?
EDIT: No worries about the blending,ive worked out a way to do it, and it looks pretty good, ill post WIP pics tomorrow

