Need a mentor to point me in the right direction

Tommie Soule

New member
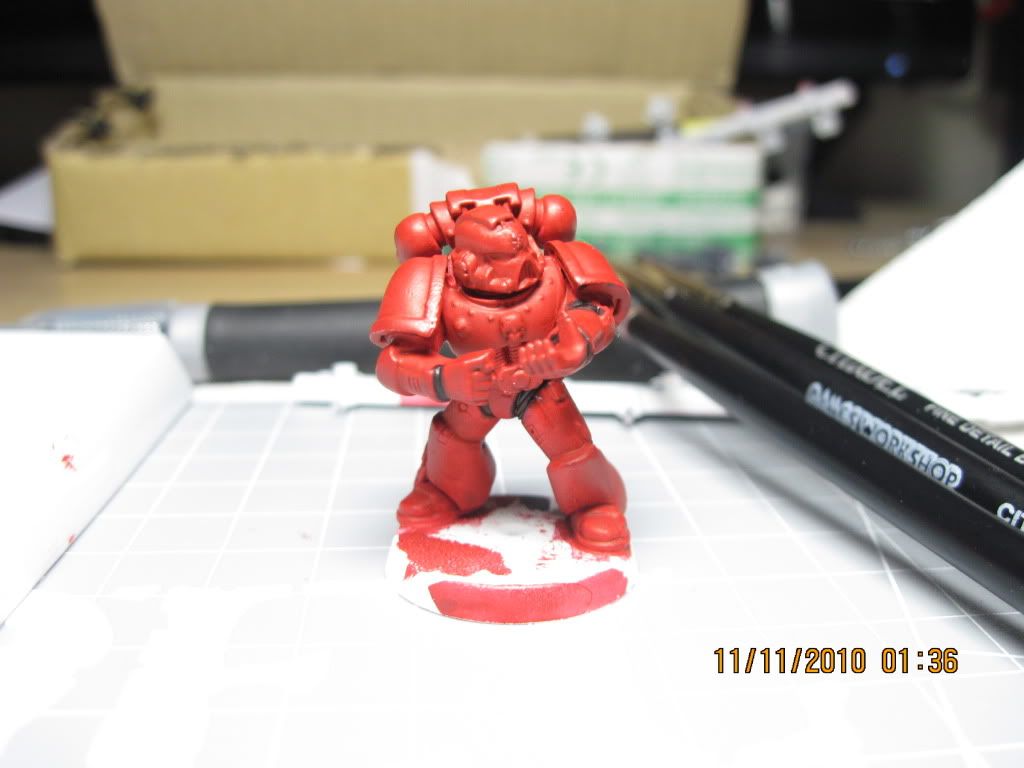
you know all the bits of him that you don't want red? his gun and other details. paint them black or some other colour you like.

as neat as possible!!!!!! again aim for the same consistency in 2-3 layers.
 
Last edited:

-Ice

New member
Like I said, I probably am starting off on wrong basics here, so I can't avoid too many questions.

Looking at the blood angels codex, the only other color is black for the recesses... and maybe gold helmets for vets... any advice?
 

-Ice

New member
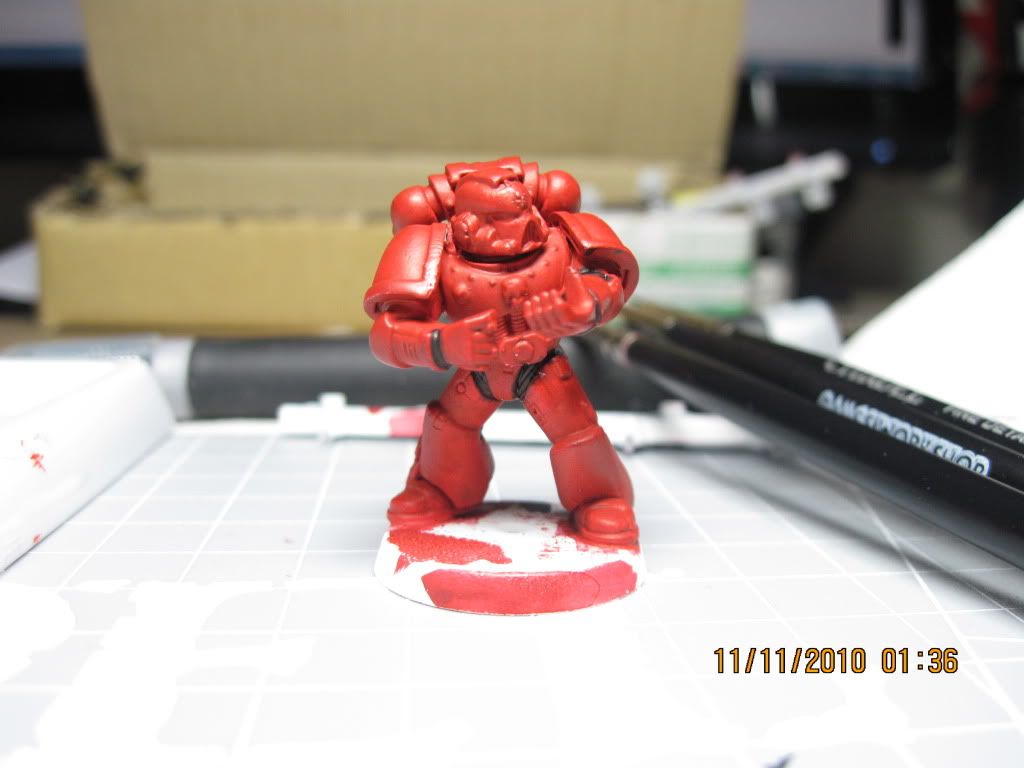
next, put on the rest of the basecoats for the rest of the mini and black the base out just to neaten things up. then get ready with the dark flesh
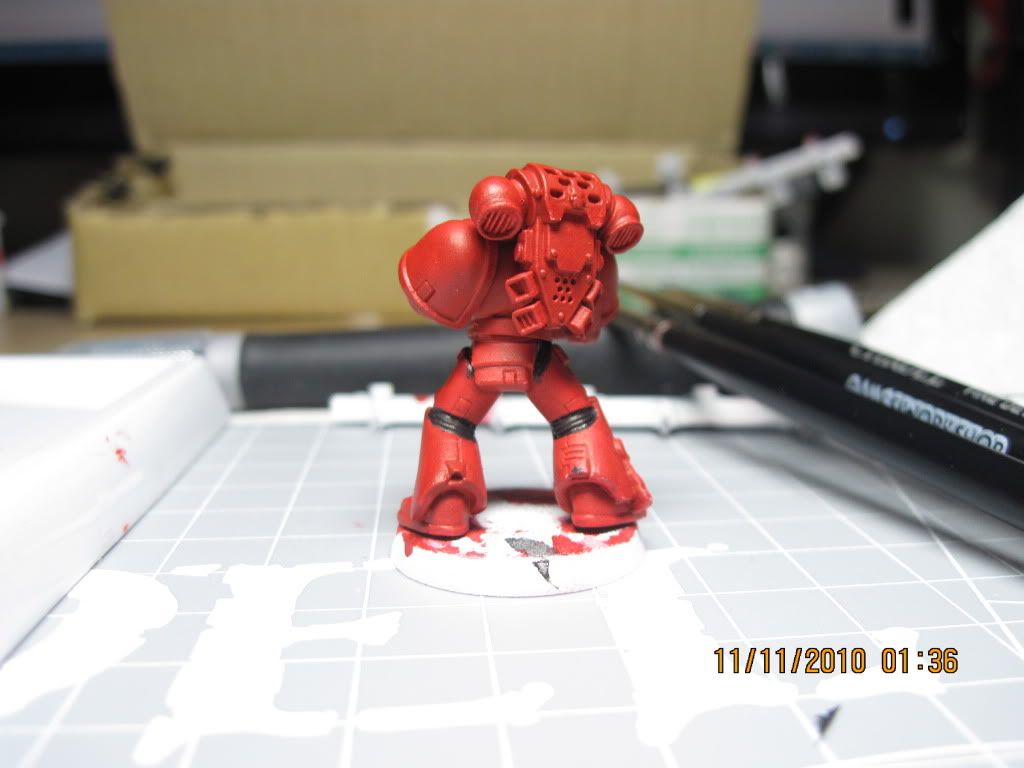
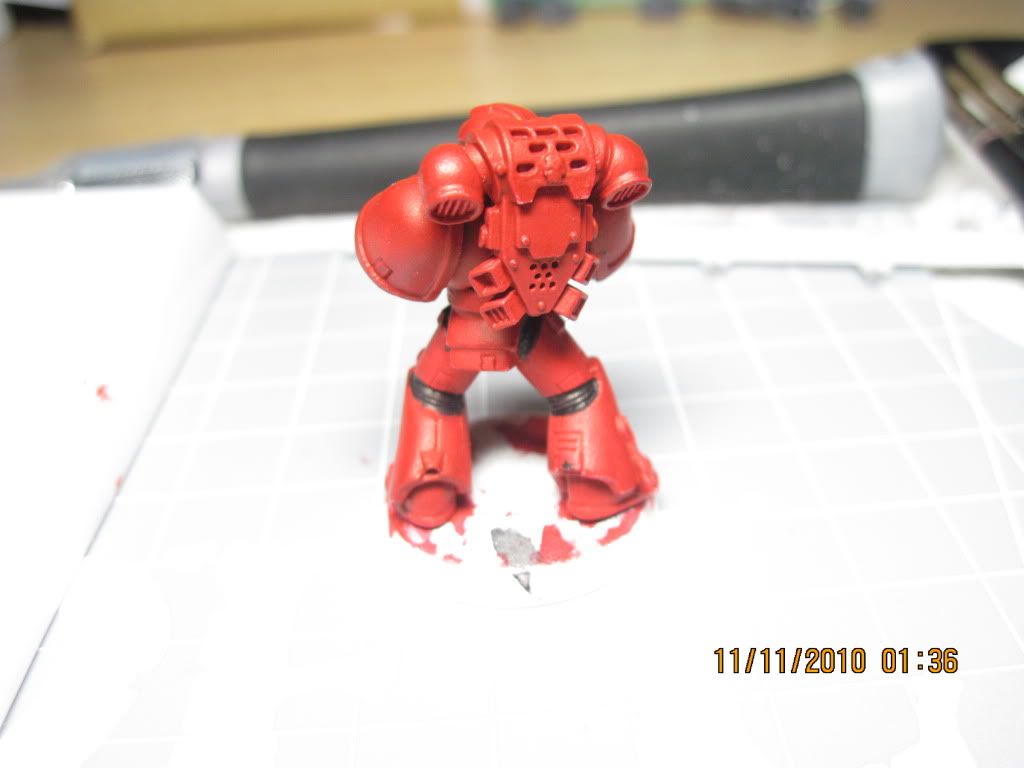
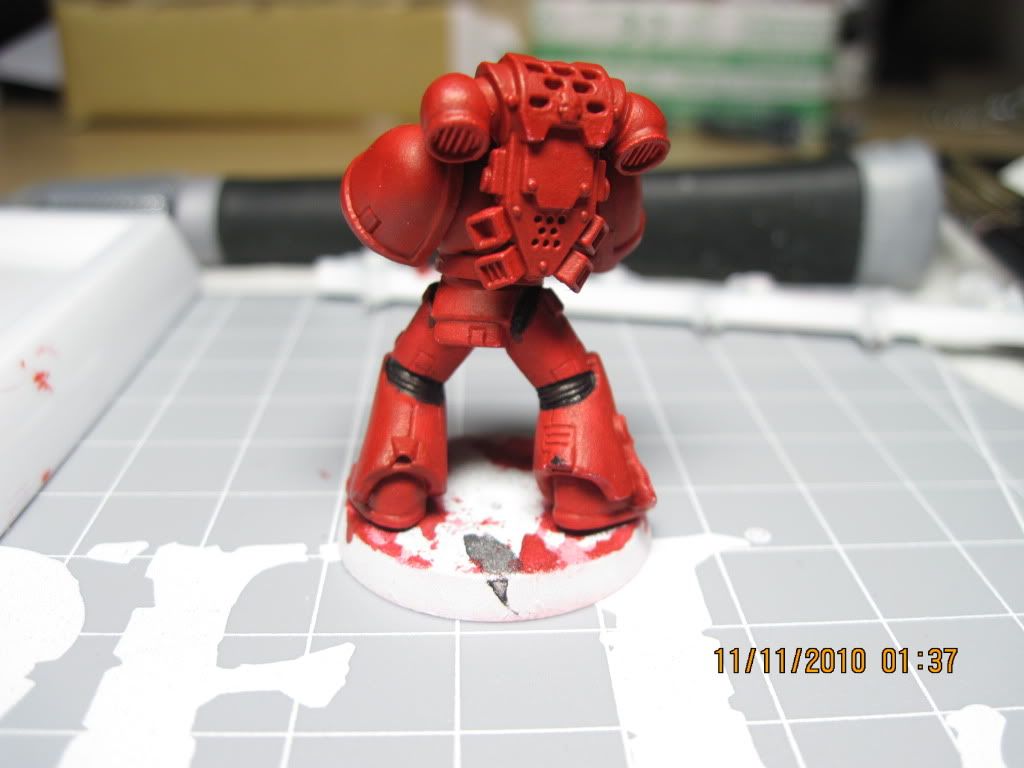
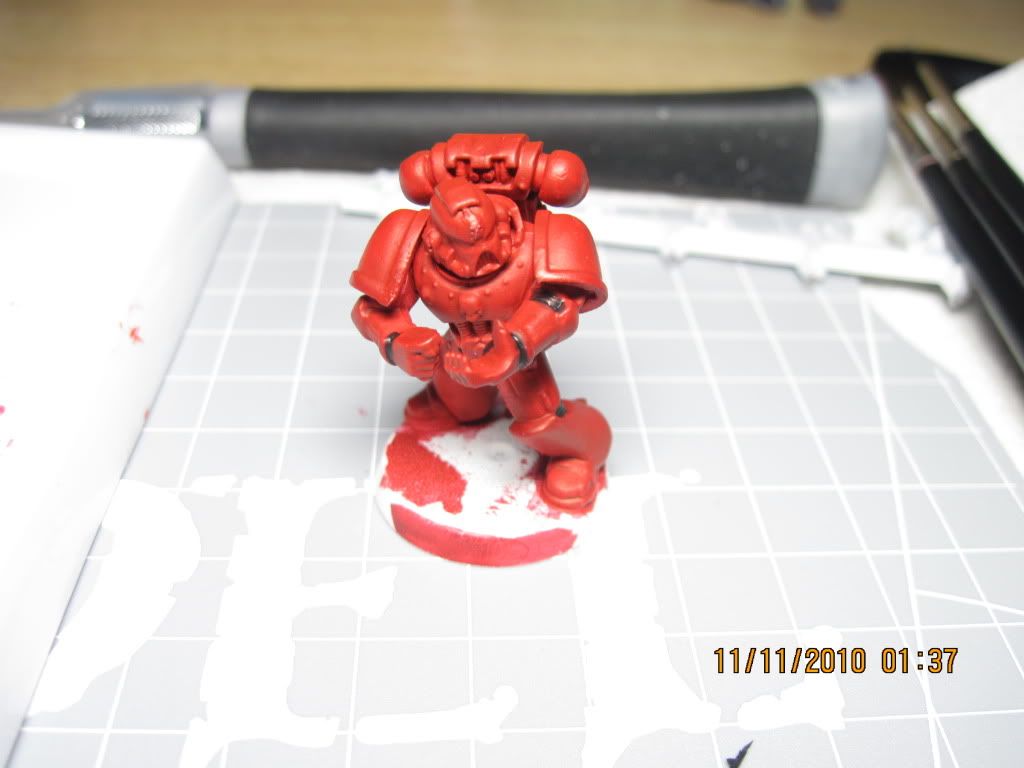
Black areas done! Not too neat, but I'm loving the coverage... about 6 coats of chaos black washed with 7 parts water...

step2001.jpg

step2002.jpg

step2003.jpg

step2004.jpg

step2005.jpg

step2006.jpg
 

flashmanfe

New member
Hi Ice, saw your question and thought I would add my 2 cents. I have been lurking on this website for months and have read many tutorials and found it difficult to "see" what the author is describing just from words and pictures. I am not trying to sell anything but the absolute best help I found was the Miniature Mentor videos. I have found them very helpful to understanding what the tutorials on this website are talking about. I have suscribed to the series since the beginning, and while I have not found all of them helpful with my interest, I prefer the painting tutorials to the sculpting ones, they are all good. What I like best about them is the photography is excellent, you can literally see brush stroke and the paint dry. I understand that you are on a budget so I would recommend that you looking at one of their painting tutorials. My favorites are: the Deamon, Giant, and the Nurgle. I also like Alexi Z's but the camera work isn't as good. My first thought on watching them was "OMG this is amazing" picture a mini the same size as your computer screen and watching an award winning artist explain how he/she paints it. It's one thing to read how to do something and another to see how to do it. Good luck with painting. p.s. buy a metal space marine paint it and if your unsatisfied, strip it and paint it again.
 

-Ice

New member
Thanks for the heads up, flashmanfe! Curse you for making this hobby more expensive!! Just joking... Unfortunately, I have blown all the cash I can for this month so anything else would have to wait until I get my next paycheck :( I'll be sure to bookmark that though!
 

Stewsayer

New member
Hi Ice,

One suggestion (that might even save some of your cash). I think that your undercoat on this guy is too thick. This is part of the reason that you have ended with a slightly rough looking surface on the finished article.

When I undercoat regardless of colour (I generally use white) I'm aiming to get a light dusting of the undercoat all over the mini. My white coated minis end up looking a slightly grey than the plastic was originally rather than white. They aslo have a definite texture with visible dots of white and visible bits of the plastic still showing between the dots. Once a few layers of thin paint are on the texture disappears resulting in a nice smooth finish. The purpose of the undercoat is more about creating good surface for the acrylic paint to adhere to than it is about staring to colour the mini.

I undercoat each of my minis (even for my armies) singly never in a batch. I give it a short puff of undercoat and then turn it to a different angle and do this until I feel I've hit most of it at least once. I also try not to hit the mini from exactly the same direction twice.

Cheers

Stew
 

Yuggoth

New member
Looking good so far, good you took your time on that basecoat, it really pays of to do multiple coats. Looks like you have the patience needed to reach what you`re aiming for.
Seems like Tommie is becomming the mentor you asked for you luck bastard ;-)
Don`t want to get in the way, but I guess your next strep would be carefully tidinig up the little spots where you got black where it shouldn`t go, like the trim of the shoulderplate.
i totally agree with what Stewsayer has written. Next time, go for a lighter undercoat
 

-Ice

New member
Okay Tommie, what's the next step?


Stew, I do agree with you, I think I overdo it with the undercoats. I think it's because I keep seeing these guys do nice even black undercoats, but with a white primer, most of the time I get a feckled, gray-white mini. What I end up doing is spraying a fine mist, taking a look, deciding it's not enough, then doing more sprays and end up doing too much. The fact that I have yet to find a proper, peaceful place to prime just adds to the problem. The local weather is nuts, my landlady doesn't want me spraying in the house, and my local shop won't let me prime in the back room. Dammit!

Talking about priming though... you say you turn the minis around... but if the mini is upright, the primer is essentially coming at the mini from a top-angle. My question is - do you lay the mini down prone to get some primer on the undersides?


Yuggoth, I'm surprised at how relaxing it is to get a mini painted to a good quality --- I think the relaxation is more on knowing that you are applying a proper technique. I wouldn't have thought 6-7 coats to result in such a nice coverage, I used to get impatient if I had to do more than 2-3 coats. Thanks for spotting that errant paint for me though! And yes, I am glad that Tommie has been kind enough to give me some help, as I am thankful to the active posters here for putting in their 2 cents every now and again. I learn bit by bit with every response, it's just that Tommie has decided to serve me with a more thorough tutorial ;)
 

Stewsayer

New member
Ice,

That freckled gray look is about where I stop. The first time I did it that way I remember wondered how that rough surface would ever become smooth, but it did. I mount my mini's separate from the base on a half champagne cork (See my avatar), stick on a rubber glove, and hold it in my hand as I prime it. I do the base separately as it allows me to paint the mini and the base without worrying about ruining previous work accidentally.

Cheers
 
Last edited:

Yuggoth

New member
Yeah, wise words from Stewsayer again. Can be messy (had a white arm once) but gives you good control. Tried to lay my minis flat before, but that sesulted in them sticking on the sewspaper i layed out to protect the floor :-(
 

-Ice

New member
Stew, I once tried priming while holding a tray with 5 minis taped onto it... and spent the next 3 days with my arm caked with white primer. No amount of washing could take it off, and no way was I scrubbing skin off to take it out. So I just washed as best as I could and let it "fall off" naturally. Luckily it was halloween so nobody even asked me about my "pale color". I'm not sure I have the patience for single-mini priming though. However, do you "bend the mini over" to prime the undersides as well?

Yug, while my minis didn't stick to the surface they lay on, I once had a mini that ended up having a "bald spot" for lying on that area. No way am I priming again without taping the minis to the surface.
 

Shellshock

New member
If your having trouble getting a good prime you can try this; after many years and variations of priming I do this religeously for best results (personally.)

Superglue a 2p to a cork, blue tac the 2p end to a box lid, blu tac the mini to the top of the cork. About 6 inches away you'll want to spray, holding the box up you can get angles from underneath, sides and above. I've drawn what now looks like a disco but is in fact precisely measured diagram of spraying angles. 2-3 short bursts on each angle with a short sharp motion asif your lightng a match or something, moving the box around to the reach the other sides. Short bursts and moving on will let the primer dry quickly, once you've done a full circle of the mini(s) it'll be dry enough you can repeat the process if you've missed any parts without layering it too thick. I can prime a 10 man squad with optimal coverage in about 5 minutes.

I keep the minis on the cork while painting, for ease of holding/not touching the paint and access to difficult angels. Corks are my best friend, sometimes my only friend... sniffle.

View attachment 4146
 

Stewsayer

New member
Ice

As shellshock says above, I spray from about 6 inches away and barely get any paint on my wrist above the rubber glove. I start by hitting the mini from above at about 45 degrees and rotaing the cork in my grip to get all sides, then give it a burst from directly above. then I turn the mini and point it to the ground and repeat the 45 degree and rotation to get the under side. This works well with plastic fellas superglued to the cork. for metal minis I put a pin or two into the feet and super glue that into the cork (smaller minis). Or push the pin right through and out the sides of the cork and loop the end over for larger minis. For truly big minis, monstrous stuff, I ditch the cork and use a wood offcut instead.

I primed 23 chaos warriors (unassembled, so 3 corks for each model, 1 for the body, 1 for the cloak and 1 for the arms and head) in about 3/4 of an hour. A bit longer than batching the lot but not much.

Cheers
 

Mourner

New member
like the above stated, corks are your friends, one nice tip i've found out, is to glue a 5c piece to the underside of the cork, this gives a bit more weight, making the cork more stabile.

if you're afraid of spraying your hands, you might even put a plastic bag over your hand :p
 

-Ice

New member
Thanks guys! As I do realize the benefits of cork sticking, do you have any idea how I could get them without having to go through a couple of bottles of wine?
 
Back To Top
Top