Need a mentor to point me in the right direction

Aulbath

New member
Hmm, might I suggest using colored primer to begin with?
I have had some good results with Army Painters darker red followed by another coat of Zenithal Highlighting using their very bright red. You could even blend that stuff even more using a red wash. That way you have insta shadows, a smooth transition between dark and light and good base to work from. Following with some washing, restoring of the base color and neat edge-lining you will have stunning results in no time.

EDIT: Basically this is the poor mans version of what the Awesome Paintjobs dude is doing.
 

Yuggoth

New member
Whatever you do: Keep in mind that standarts on this site are VERY high compared to what you will see in most hobby and GW-stores. So what is considered TTQ on here is way -and I mean WAY!!- above the "just basecolour, few drybrush-strokes and gun-details"- thing you have mentioned. The examples you showed on your first post where definately done in more than one h per fig and probably took tremendous amounts of blending, layering, glacing etc.
Why do I say this? Certainly not to belittle your effords, but to warn you: What you have been doing until now IS considered TTQ on here, not competition standard. So don`t be disapointed if your first pics one here don`t get the vote you have aimed for. Also, the recipes you have recieved until now are quite advanced. In my opinion your next step would be to introduce simple shadows. (Yes, you will want those in the long run ;-). then maybe try layering/ blending instead of drybrushing for a smoother finish and more control.

Also try to organise some cheap practice pieces so you don`t ruin your costy marines if an experiment goes wrong. Most stores have a discount bin. Or paint up some old toy cars/ legos etc. for practice ;-)
 
Last edited:

Tommie Soule

New member
Whatever you do: Keep in mind that standarts on this site are VERY high compared to what you will see in most hobby and GW-stores. So what is considered TTQ on here is way -and I mean WAY!!- above the "just basecolour, few drybrush-strokes and gun-details"- thing you have mentioned. The examples you showed on your first post where definately done in more than one h per fig and probably took tremendous amounts of blending, layering, glacing etc.
Why do I say this? Certainly not to belittle your effords, but to warn you: What you have been doing until now IS considered TTQ on here, not competition standard. So don`t be disapointed if your first pics one here don`t get the vote you have aimed for. Also, the recipes you have recieved until now are quite advanced. In my opinion your next step would be to introduce simple shadows. (Yes, you will want those in the long run ;-). then maybe try layering/ blending instead of drybrushing for a smoother finish and more control.

Also try to organise some cheap practice pieces so you don`t ruin your costy marines if an experiment goes wrong. Most stores have a discount bin. Or paint up some old toy cars/ legos etc. for practice ;-)

All good advice, note it.
 

-Ice

New member
Thanks for the help guys. I know what I'm striving for is pretty high, but I guess I'm like that in a way. I'd rather go for a high goal than go in saying "I'll paing this to a 'meh' standard". To be honest though, I'd be really happy to get my models painted and played, I know realistically I can't be anywhere near what I want to achieve with this box set alone, but I want it to be the best I can do for now.

Can anyone tell me what site to upload pictures to for sharing on this site? I'd like to post some pictures for some advice. Thanks!
 

Tommie Soule

New member
You can use the url from your uploads own personal gallery here on cool mini or you can upload to photobucket(or similar) and use that one:)
 

-Ice

New member
Sorry to ask so many questions, but can you tell me how to get to my "personal gallery"? Also, any simple how-to's on taking pictures of my minis? I tried to follow a few but the mini is not in focus very well.
 

Tommie Soule

New member
Also you can paint to a high standard if you do things a certain way. That way is 'simple' or 'meh' as some people put it. To be neat and clean and simple in all aspects of your approach will give greater results and create a far superior foundation with which to build awesome technique! For starters, drop drybrushing from your method. It's not used for any of the GW marine box covers. If you want to achieve something close using a simple approach try. 1 a mid red basecoat. 2 dark red or dark brown shade literally painted into the 'valleys' of the mini, as neat and clean as possible! 3 orange highlights. Applied to the peaks of the mini, again, as neat and clean as possible! 4 forget blending, freehand, special effects etc until you can do this. Post a pic here of your results and get feedback, we'll move on from there.
 

Tommie Soule

New member
Sorry to ask so many questions, but can you tell me how to get to my "personal gallery"? Also, any simple how-to's on taking pictures of my minis? I tried to follow a few but the mini is not in focus very well.

Questions is how we learn both as teachers and students, keep it up. But don't let them distract you from actually practicing. Your gallery options should be at the top of the screen, titled 'my pictures'. As for simple photography, i use a bit of white paper as a back drop, a desktop lamp with a white a light bulb. And a cheapo kodak finepix thing. For your first pics try not to be too fussy. Just go for focus. The rest will come with the feedback you get as you post here
 

-Ice

New member
Awesome replies there, Tommie, much appreciated.

Also you can paint to a high standard if you do things a certain way.
Ah, this is exactly where I want this thread to go. You see, when I went to my local GW for a painting lesson, it was the standard "Oh, painting minis is so easy!" type of reply to which I was given a black-primed marine and then made to drybrush it red. In spite of all their praise, I was not really happy with the result.

If you want to achieve something close using a simple approach try. 1 a mid red basecoat. 2 dark red or dark brown shade literally painted into the 'valleys' of the mini, as neat and clean as possible! 3 orange highlights. Applied to the peaks of the mini, again, as neat and clean as possible! 4 forget blending, freehand, special effects etc until you can do this. Post a pic here of your results and get feedback, we'll move on from there.
Noted. Now, I'm a very new newbie here so can you specify what is a mid-red basecoat? How about a dark red/brown shade? Assuming an example of a WH40K space marine, where are the "valleys"? To give you an idea, the "how to" guides on the WH40K website seem to be way over my head at the minute...

Now I know certain paint techniques give a certain effect and I know blending/shading isn't within my reach yet, but I am aiming for a bright-red blood angels paint scheme so I am priming my models white. After that, I'm lost. Do I want shadows? Do I want to blend? Do I want to highlight? No, scratch that, I'm not good enough for line highlights yet, I'm having a hard enough time with painting the non-armor parts with black paint! So extreme highlighting on armor is beyond me.

Questions is how we learn both as teachers and students, keep it up. But don't let them distract you from actually practicing.
Thanks! I'll try to upload my pics soon!
 

Tommie Soule

New member
o.k step 1. a neat clean baescoat of one single colour on the armour of your mini, i recommend for you at your level a coat of blood red/mechrite red 50/50 in 2-3(aim for two to save time for now) thin layers over an undercoat of your choice, you will get streaks regardless of wether you choose black white grey. by thin i mean add a tiny amount of water to your mix. how do you know if you have it right?????? answer, the first coat should allow the undercoat to show through slightly and be as even as possible ignoring streaks till your skills improve. leave to dry fully!!!! the second coat should go over the previous(duh) in the same way giving you a solid appearing colour with no streaks. if you still have undercoat showing you added too much water. if the coat goes on first time with no undercoat showing you not added enough water.

this is a rough guide follow as best you can. it is also not the only or even 'best' way to do it.
some may say more water, some may say less, some may say more layers blah blah blah

stick with it!!!!!

the dark flesh you purchased is perfect as it is don't for now try to wash with it (bath, shower or otherwise)
try the above lesson right now (assuming you have the colours needed) instead of sittin at your p.c being "distracted from actually painting" try it over an entire marine, then let me know if you are happy.
 

-Ice

New member
Haha... my painting table is actually my PC table but I take my keyboard out and put my "painting box" on.

Thanks for that step 1 tutorial --- now a few questions
a. I kinda understand by now that "mixing" paint is done on a "feel" basis, not an exact science (I was thinking of getting a 1ml syringe to accurately measure!). However, where/how would you recommend I mix paints so that they don't dry too quick or I don't waste too much paint?
b. Like I said, I think I'm working from wrong foundation skills (ie, drybrushing stuff) so can I just clarify --- when you sa basecoat my mini, do I paint the ENTIRE mini or just the armor? At the moment, I paint the mini to the color I want then I just paint over areas that are black or a different color.
c. How much time is the minimum for drying?

Thanks again for your help, I look forward to this step-by-step and see how things go. However, I'm scheduled for a diagnostic exam tomorrow so I'll probably be able to complete this step by tomorrow night, provided I don't come home too sedated. :)
 

Tommie Soule

New member
Haha... my painting table is actually my PC table but I take my keyboard out and put my "painting box" on.

Thanks for that step 1 tutorial --- now a few questions
a. I kinda understand by now that "mixing" paint is done on a "feel" basis, not an exact science (I was thinking of getting a 1ml syringe to accurately measure!). However, where/how would you recommend I mix paints so that they don't dry too quick or I don't waste too much paint?
b. Like I said, I think I'm working from wrong foundation skills (ie, drybrushing stuff) so can I just clarify --- when you sa basecoat my mini, do I paint the ENTIRE mini or just the armor? At the moment, I paint the mini to the color I want then I just paint over areas that are black or a different color.
c. How much time is the minimum for drying?

Thanks again for your help, I look forward to this step-by-step and see how things go. However, I'm scheduled for a diagnostic exam tomorrow so I'll probably be able to complete this step by tomorrow night, provided I don't come home too sedated. :)

you think toooo much.

A. don't worry about the ratios really, just very liberally guesstimate. bollox to syringes!!!!!! "PAINT LIKE YOU HAVE A PAIR";)

B. It's up to you:)

C. till it's all dry to touch

enjoy your probing, good luck if you need it!

Tommie
 

gohkm

New member
I'll have a stab at answering your questions:

a. If you seriously want to work the paint, do it with a wet palette. Do a search through the forums, there's quite a bit of data on it. If you're using an open palette (or 'dry' palette), a few drops of drying retarder can do wonders. There's no clean way to measure paint from a non-dropper bottle, I reckon; I just dip the tip of an ice cream stick in it and that counts as my 'one drop'. Not an exact science, as you say. Never tried a syringe, though.

b. For basecoating, the easiest way to look at is probably to do colour blocking - block in the colours you want for each area. So, in your case, red for the armour bits, black for the piping and other parts, etc. Then go ahead and finish each blocked part separately. A lot of painters wind up finishing an area completely (basecoat, wash, highlight, sometimes even seal) before moving on to the fiddly bits. If you're sloppy about brush control and paint thickness (like I am), this will save the fig detail when you need to re-coat areas that aren't supposed to be in the basecoat colour.

c. Drying times vary, depending on your paint dilution factor and if the paint gets into recesses, if so how much paint, etc. No accurate measure is available. But generally, acrylics dry very quickly, even if you slap it on out the bottle. I've never measured it - I just slop the paint on, watch 5 to 10 mins of a movie or go through a song while surfing the net, and it's usually completely dry by the time I get my mind back on track. If you're concerned about speed, get a hair dryer on low and blast your wet fig with it. You may run the risk of tide marks if you do it this way, especially with pooling washes (if your brush control is poor).

To shade your red, though, I would suggest that instead of dark flesh or brown, you mix in a bit of green with your basecoat red paint and use that instead. Adding increasing amounts of green will transition your red to a deeper, darker shade of brown. There's a tipping point, though - add too much green and your nice, dark brown will turn dirty green, which you'd probably want to avoid.

Does this make any sense?

As you improve, you might consider shading with other colours like purple and blue, too, but that's a different story.
 

Yuggoth

New member
I guess there could be some open questions still:

1. As has been said, If you work with very thin layers, painting the entire fig in your base-colour is not a problem. If your paint layers are a bit thicker (which happens with most beginners or impatient people) you will want to try to spare the parts that are black/ metal etc. Otherwise the double amount of layers may obscure finer details.

2. You asked what the "valleys" on a space marine are that might need shadow. Well there are to different aproaches:
2.1. The easyer form and the one that was used by GW almost exclusively for long years goes like this: You look at the mini and imagine that it is hit by diffuse light.
Shadows are painted in all "deeper" parts of the mini (like the little holes in a SM Backpack, the eye sockets of a skull, the folds of a robe), where the shadows would be in "in real life" even if the small scale of the mini means that it is actually well lit.
You try to estimate the stengh of the shadow by its "deepness" and its position on the mini. For example the recesses between the pages of a book or the little corner between the trim of a shoulderplate and the actuall plate get lighter shadows than deep folds of a cloak. You can try to get this sort of shadows by using a wash. There are special washes sold, but you can just use dilutet paint as well.
There are many ways to do it, but heres mine:

I use a plastic sheet as a palette (the ones you put pages in, dont know the english term). They are not as fancy as a wet palette but don`t need any prepartation before you paint. The paint does not stick to the plastic very much so you dont waste much of it. Also, paint and water make little "pearls" on it, that you can divide and move around with your brush or cocktail-stick for more mixing/thinning.
I put a very small amount of paint in the shadow-colour on the palette (In your case the darkest red you have and/or the dark flesh, maybe with a little black for the deepest shadows. Then, add water until the paint starts to become translucent (i.e. very diluted).
Mix in a very tiny amount of dish soap (just a the very tip of a small brush). This will break the surface tention of the thinned paint, so it flows better in the recesses. (mix slowly or else you will get soap bubbles)

Now make your brush wet with it and "paint" the mini generously. The diluted paint will pool in the recesses of the mini. You can try to spare those parts that are already highlighted or that you want super bright. Try to go slow, part by part. Since the very diluted paint does not dry so quick, you can "move" it around on the mini with your brush. The biggest amount of paint (and so, the deepest shadow) will usually stay where your brush has last touched the mini. Don`t regard this as a beginners technique. Many top painters use it (though in an upgraded and refined way).

2.2. The second way is painting the mini with shadows that look like it was hit by a defined light source. There are many variants to it, like OSL (you paint parts of the mini as if they emitted light onto other parts (torches, glowing swords/eyes). or zenital lighting (you paint as if the light is hitting the figure from a certain direction outside the mini, mostly from the top). Those look great but are clearly to difficult for beginners and even most veterans. You can try to incorporate it a bit by painting the upper side of arms, shoulders etc a bit brighter than the underside.
 
Last edited:

-Ice

New member
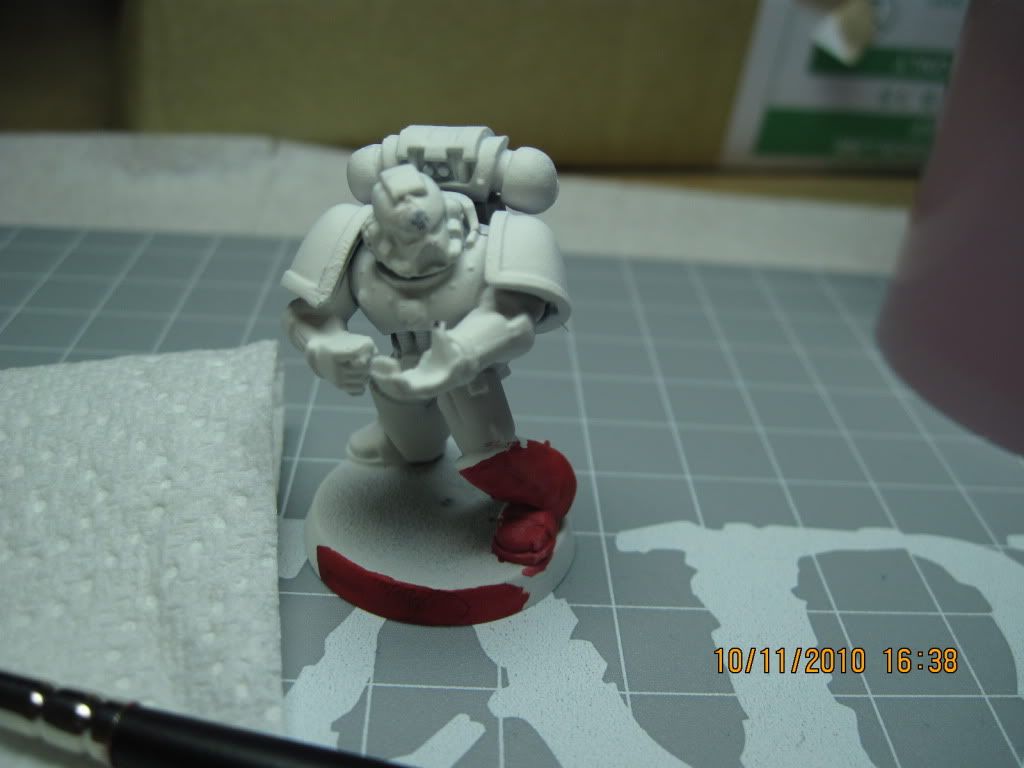
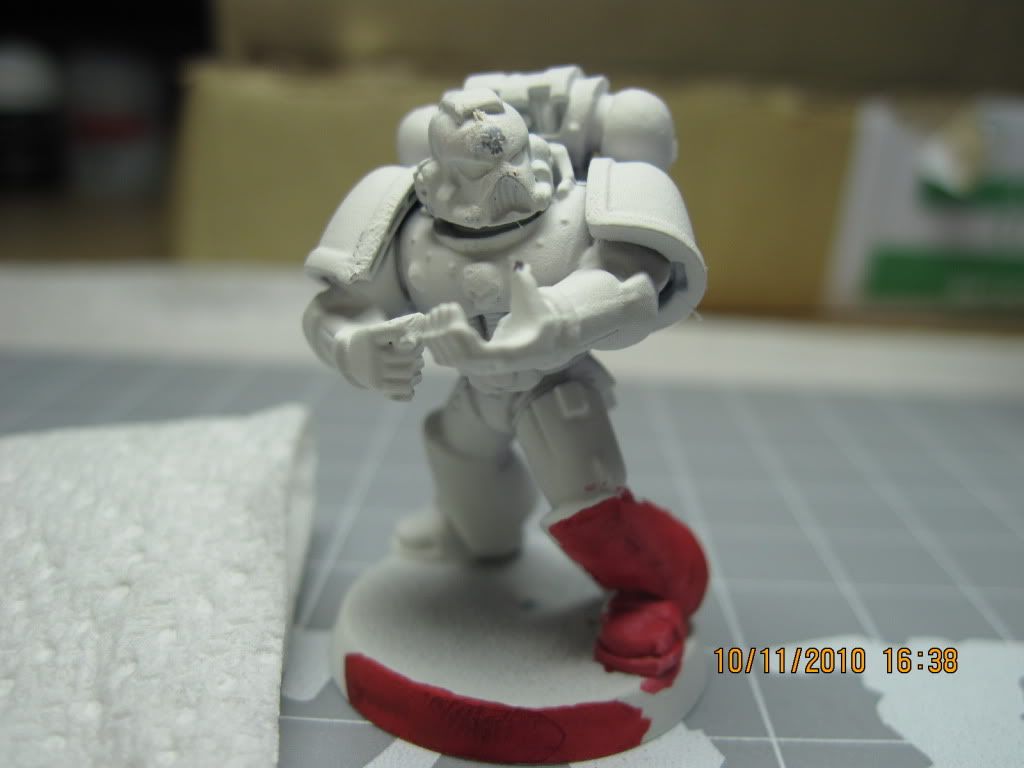
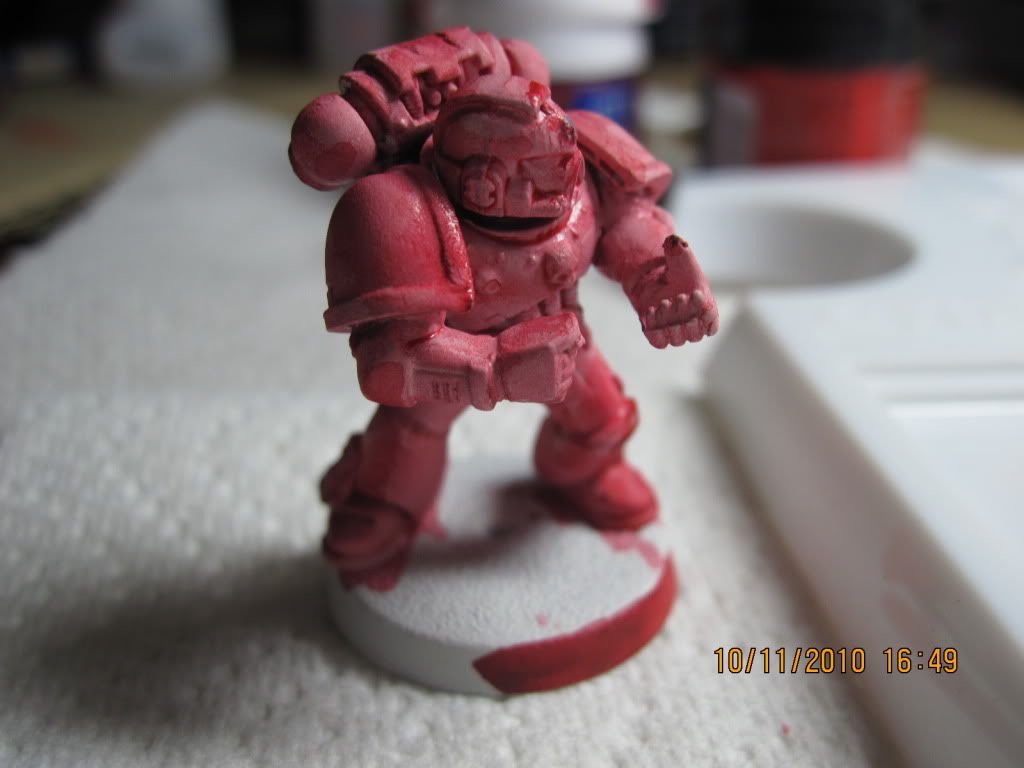
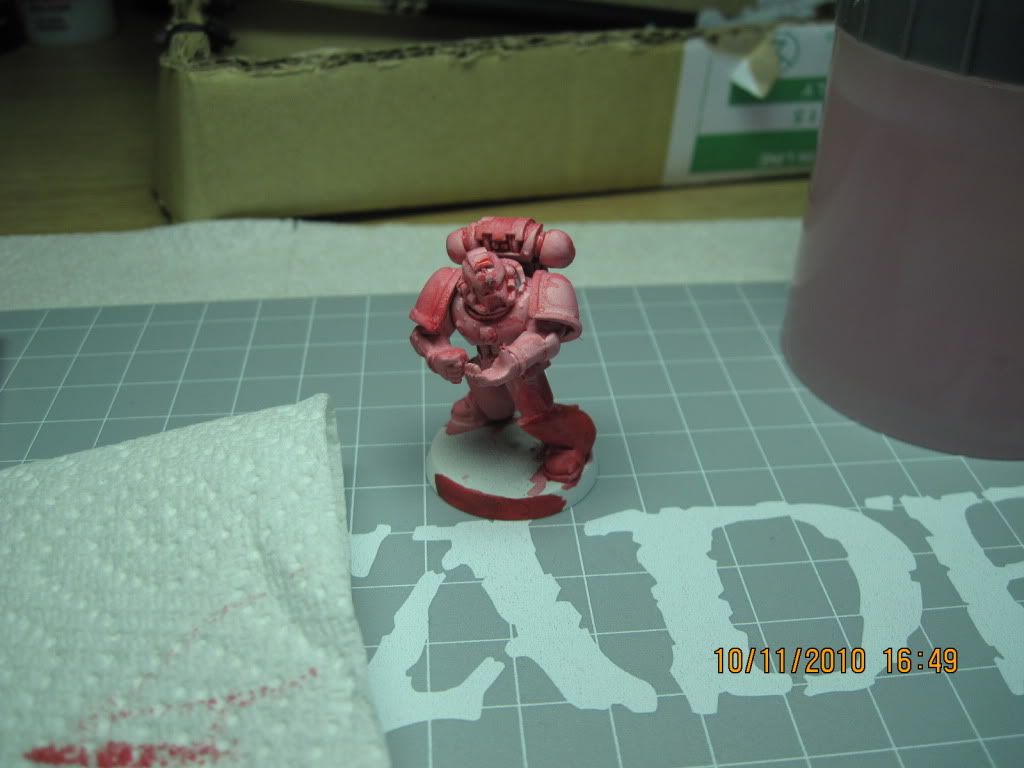
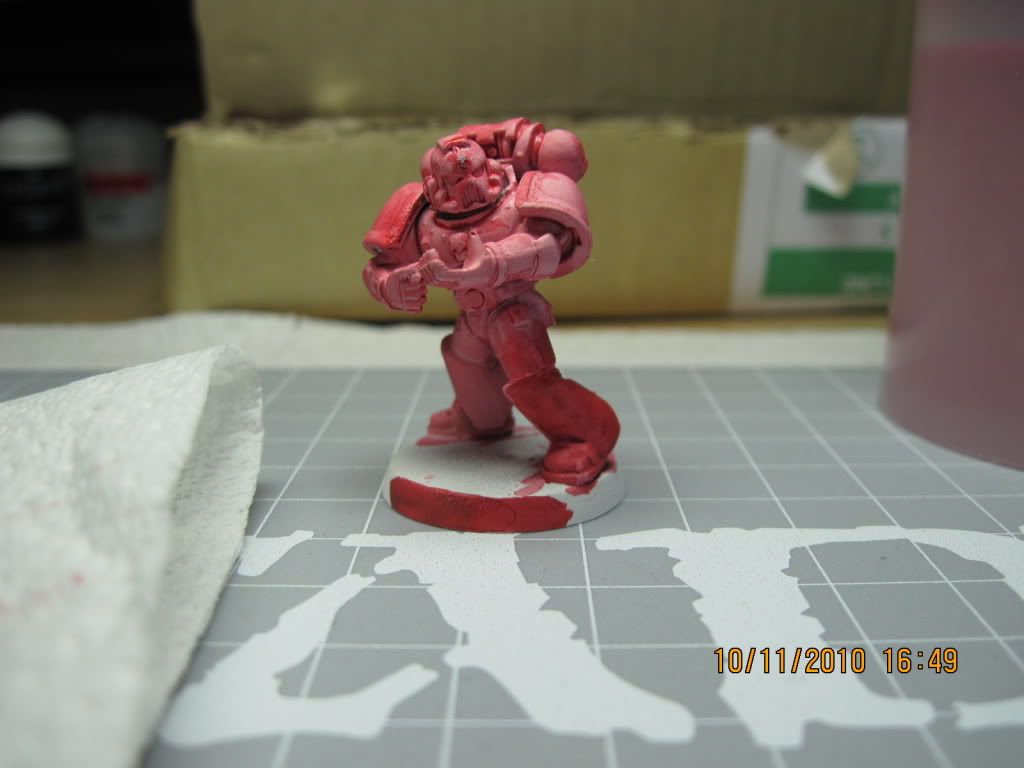
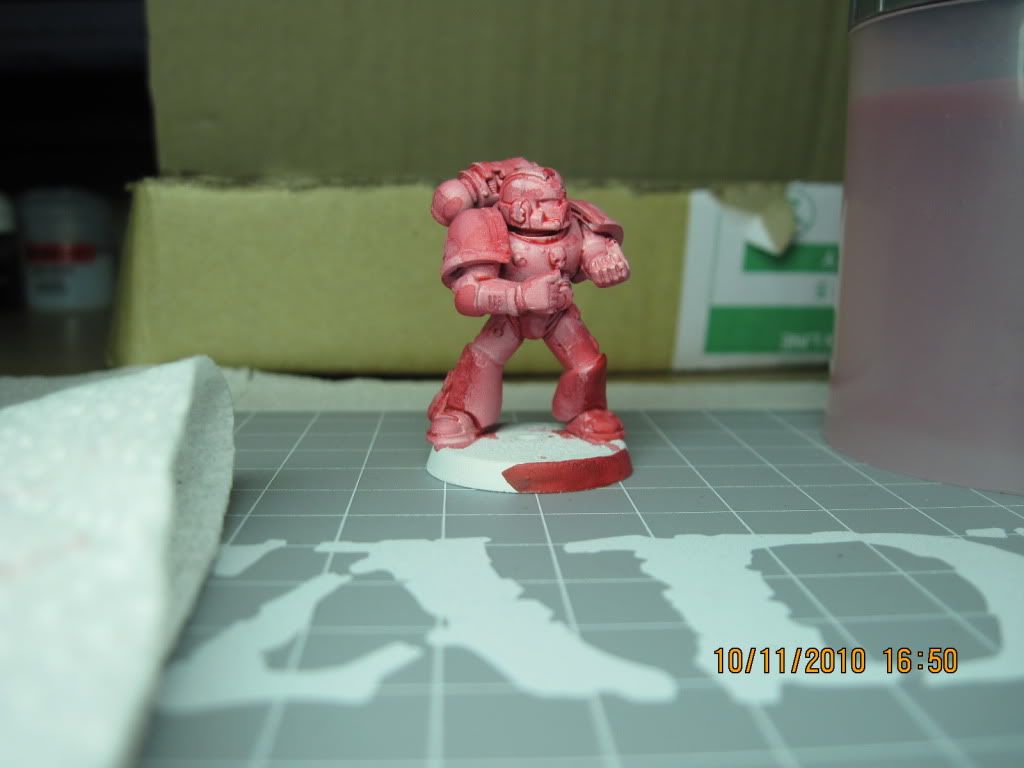
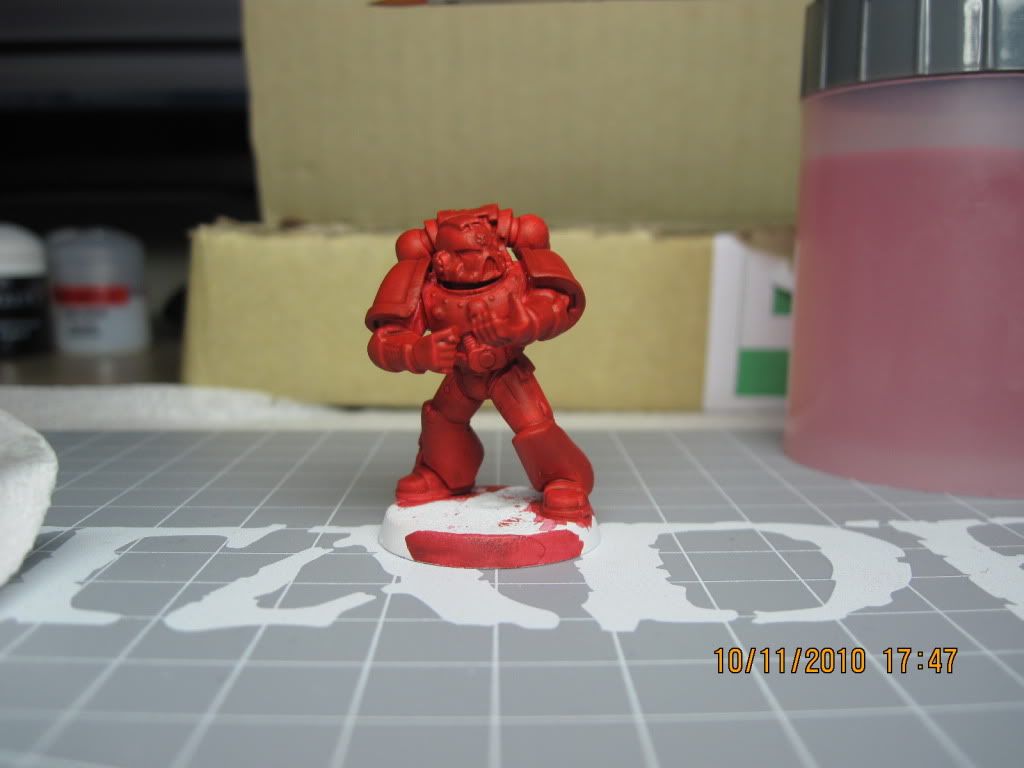
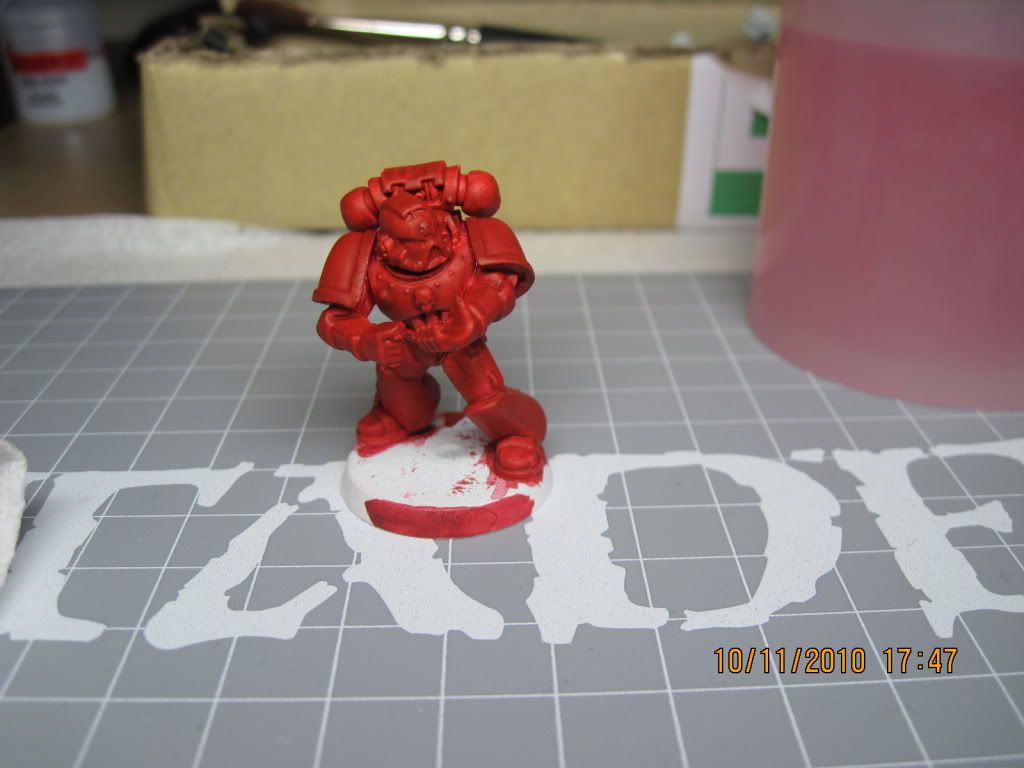
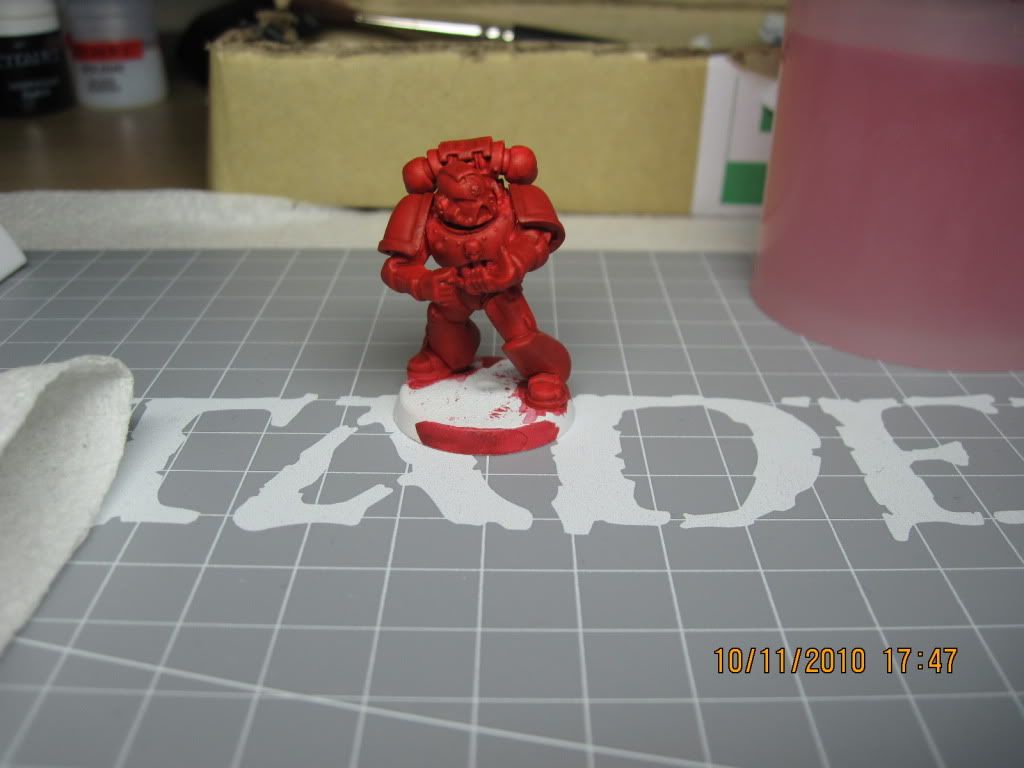
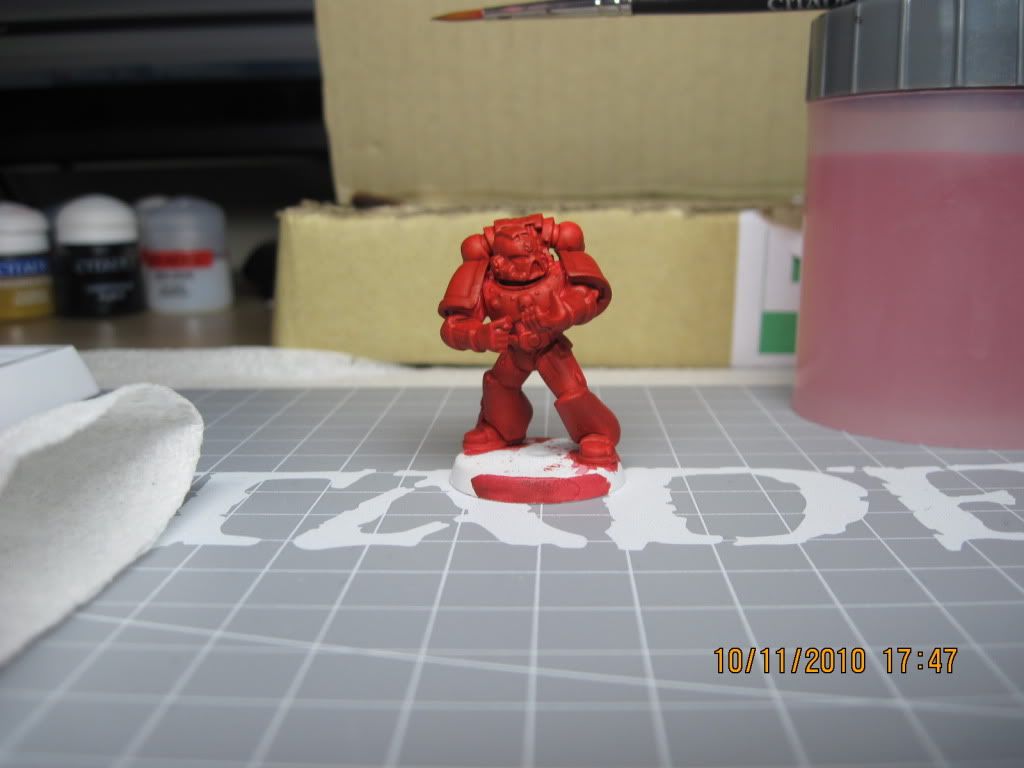
Alright, here's a few shots of what I've done so far:

Here is a pic of the mini --- note the primer --- I think I even have to work on THAT!
Paintgesss014.jpg


Paintgesss015.jpg


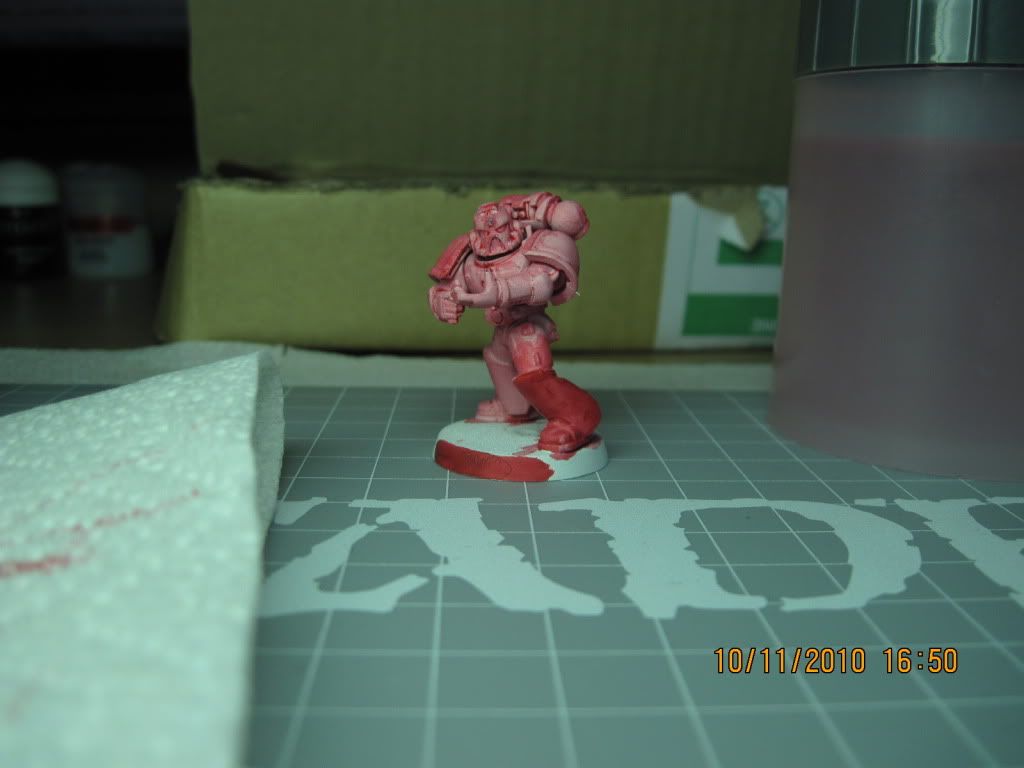
The first application of the paint --- apparently it needs more water since it is thick enough to cover with just one coat
Paintgesss016.jpg


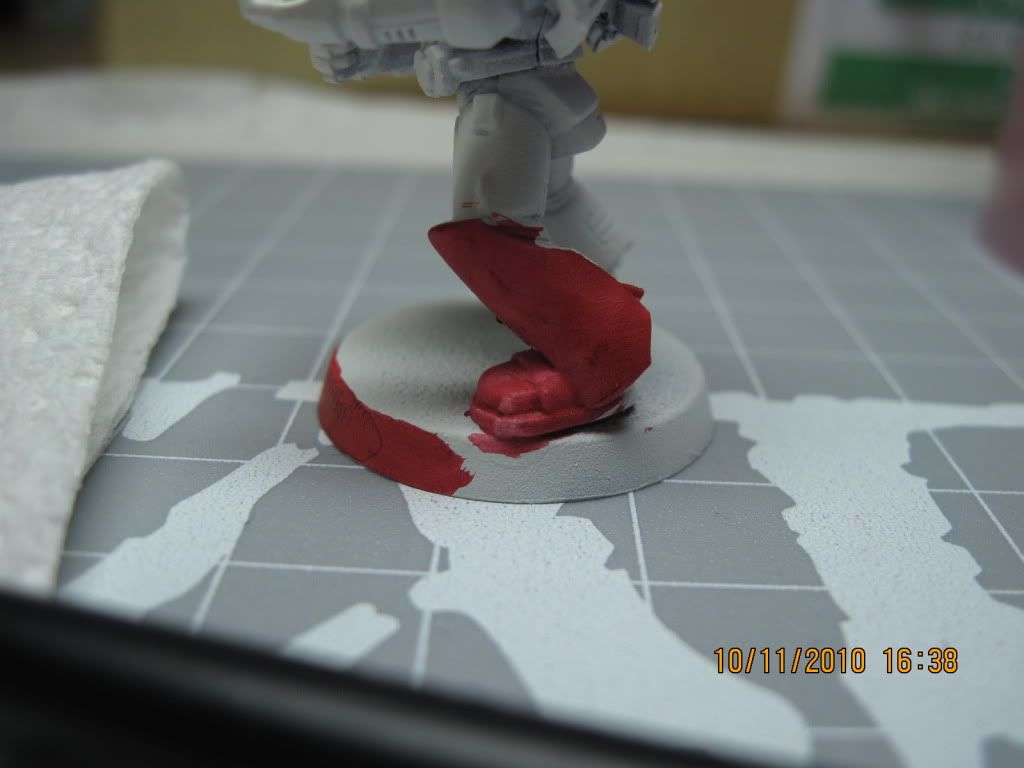
Another look at the leg:
Paintgesss017.jpg


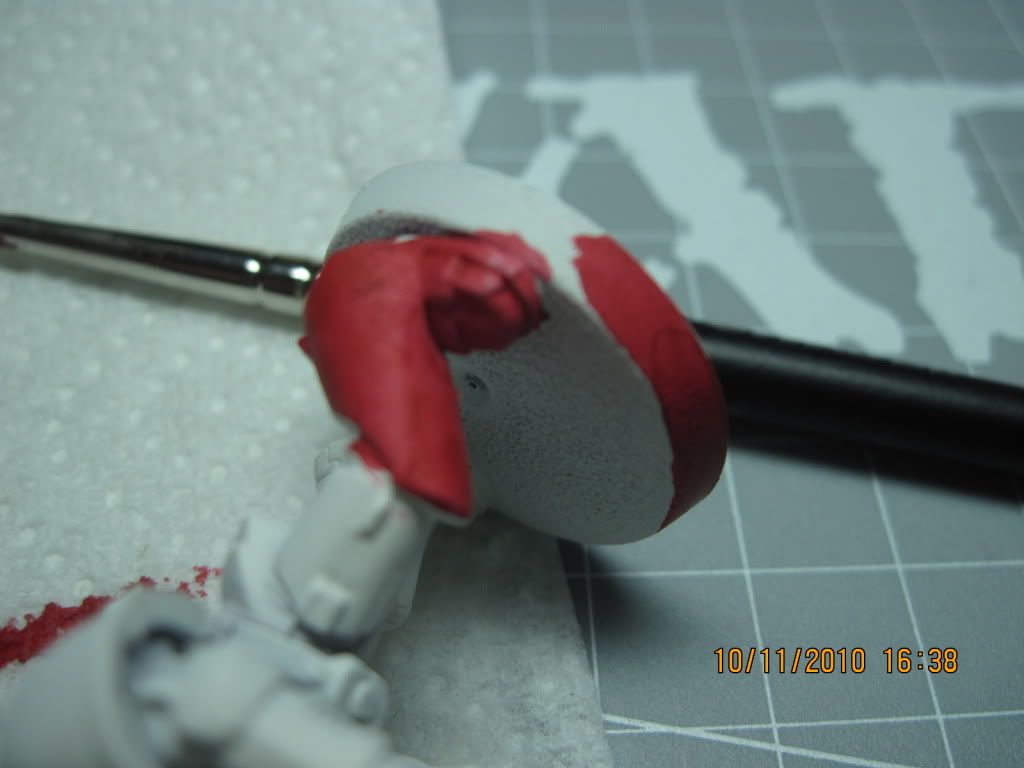
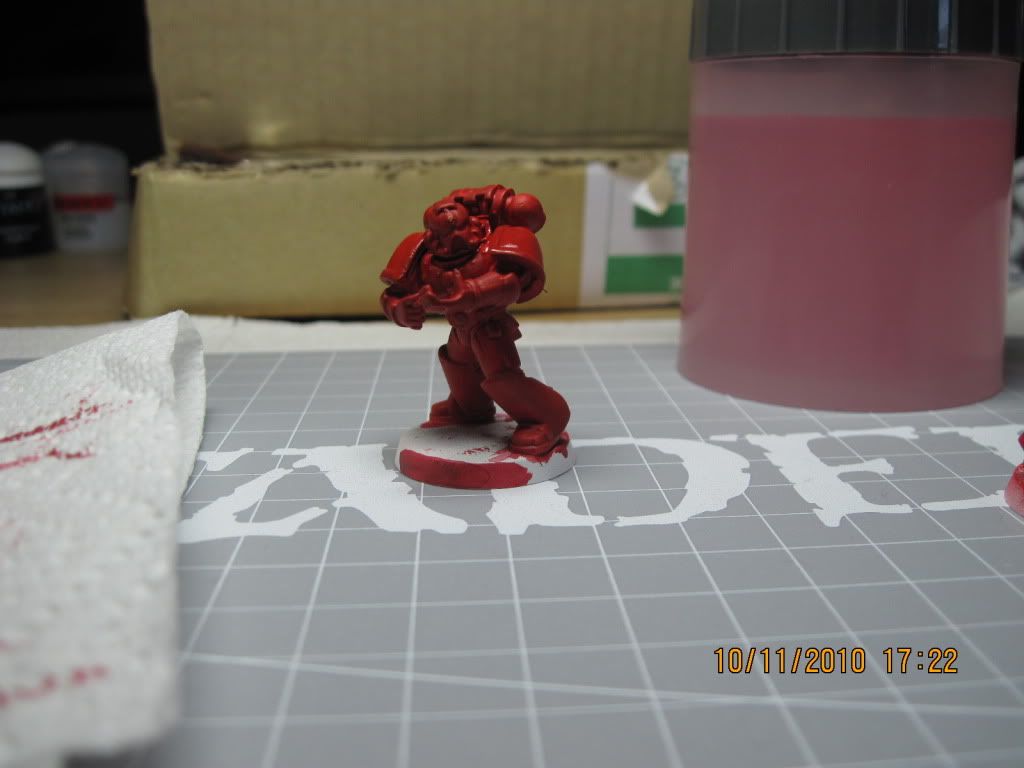
Here is the first coat of the watered down mix of 50/50 mechrite red and blood red plus about 1:8 ratio of mix and water:
Paintgesss018.jpg


Paintgesss019.jpg


Paintgesss020.jpg


Paintgesss022.jpg


Paintgesss023.jpg


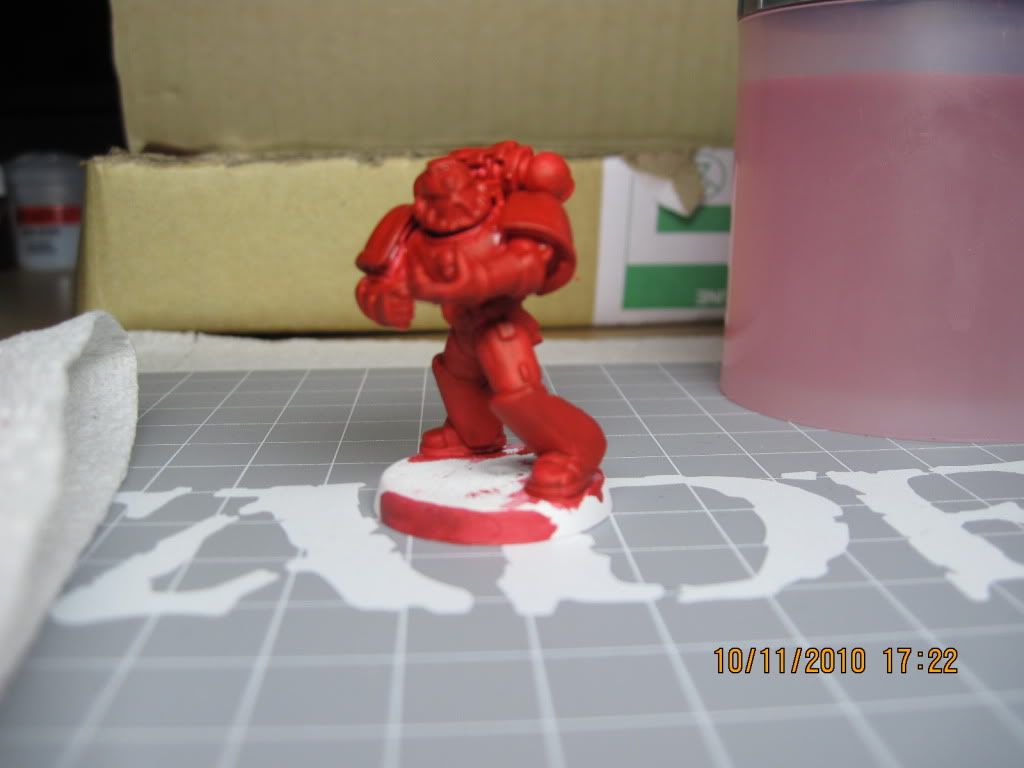
Here is a pic after 3 coats of the mix:
Paintgesss024.jpg


Paintgesss025.jpg


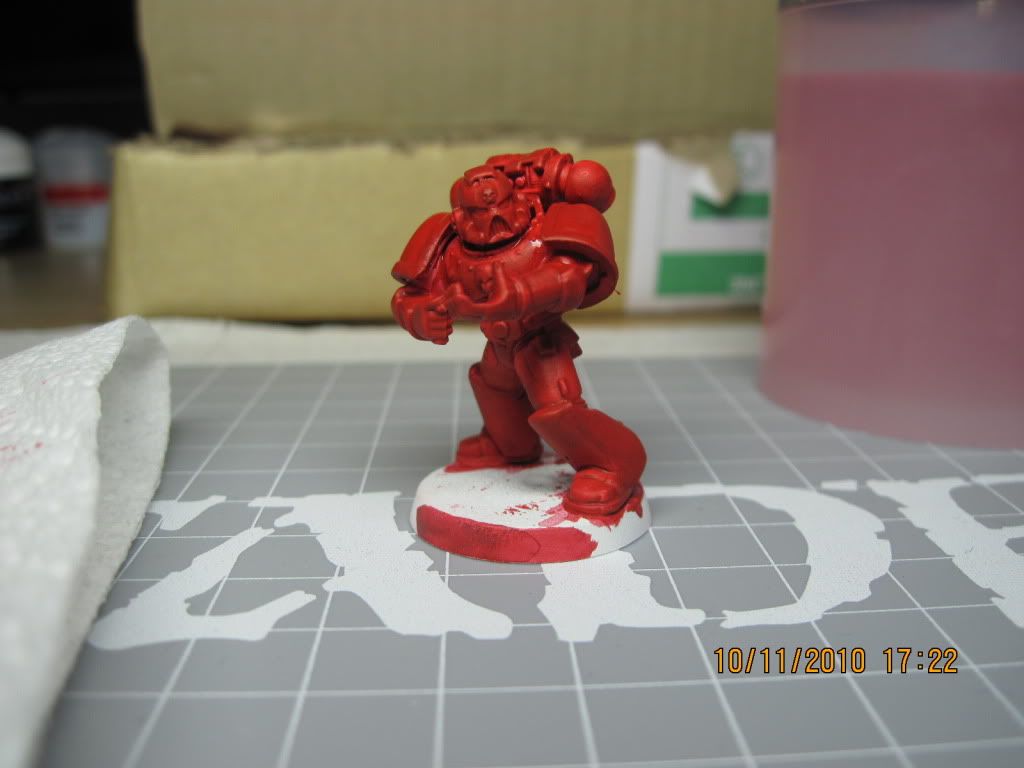
The 4th coat is still a bit wet when I took this:
Paintgesss026.jpg


Sorry if the pics are too big. These are unedited pictures. Comments and suggestions on the technique, as well as on taking and posting photos, are much appreciated.
 

-Ice

New member
yep... and I'm really liking the effect too... I wouldn't have thought a mix would bring out this much redness... I'm assuming I did this step correctly?

So, what's the next step?
 

Tommie Soule

New member
next, put on the rest of the basecoats for the rest of the mini and black the base out just to neaten things up. then get ready with the dark flesh
 
Back To Top
Top