Evening all, I'm desperatly after some constructive feedback on the 3 minis i'm working on below (if the image link works)
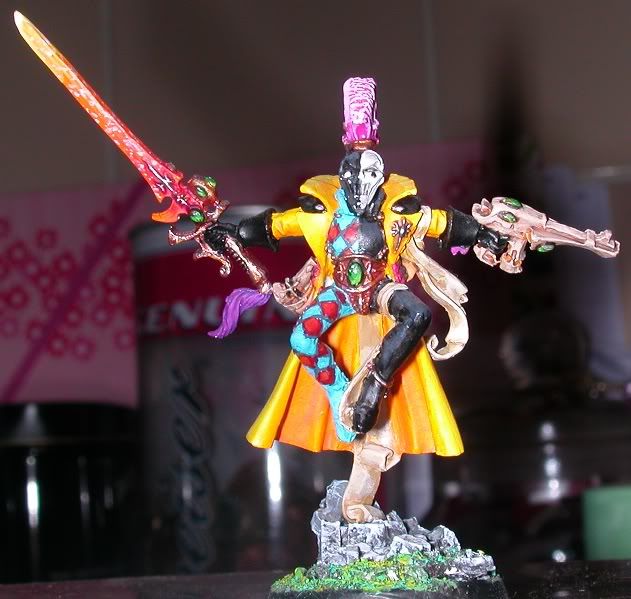
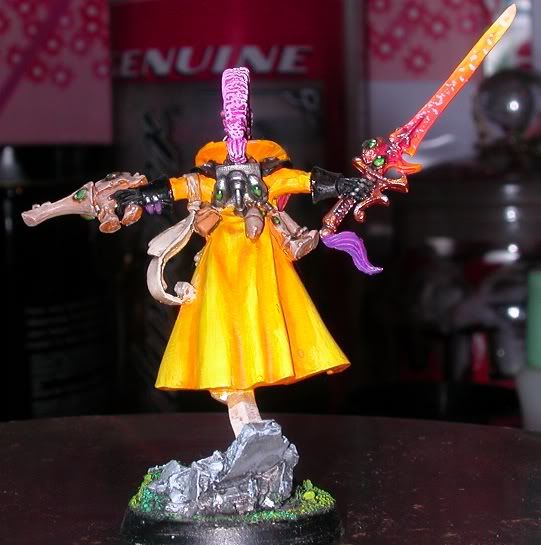
1st is a eldar harlyquin, prolly the most completed but I feel it's lacking in something, I'm trying to pluck up the courage to do some freehand on the jacket/cloak but am petrified I'll screw up the paintjob so far.
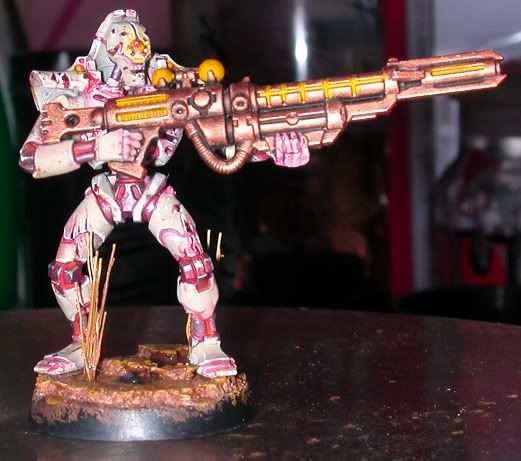
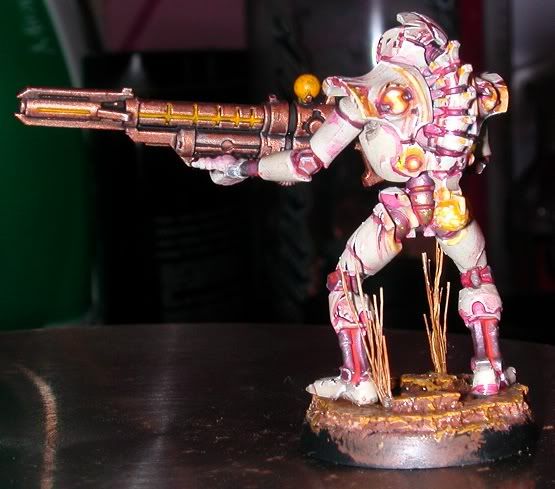
2nd is a Necron painted in a bone enamel colour, heavily weathered to look like its been dormant in a not so great enviroment for decades. I've made good progress with the model, keeping my colour pallete faily limited to keep a orange tone to the whole fig, but have got stuck with the weapon. I'm trying to keep all OSL sources a yellow colout to tie in the the pallete but just am unsure of colours for the actuall weapon body and barrel. Should I bring in another colour or stick with the tone I have?
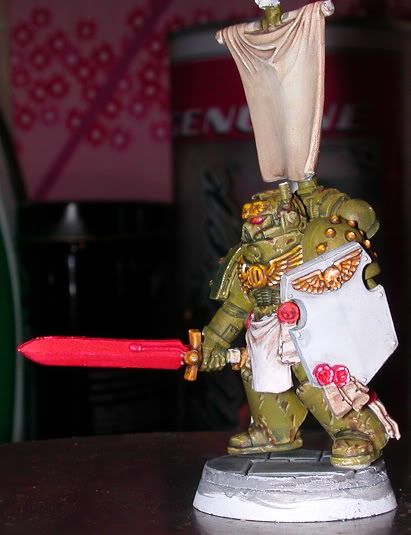
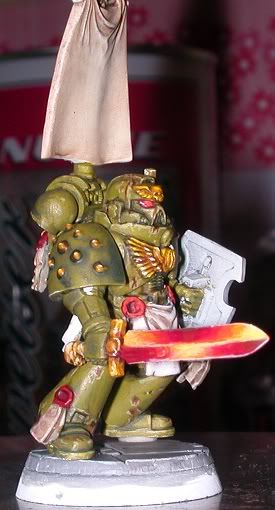
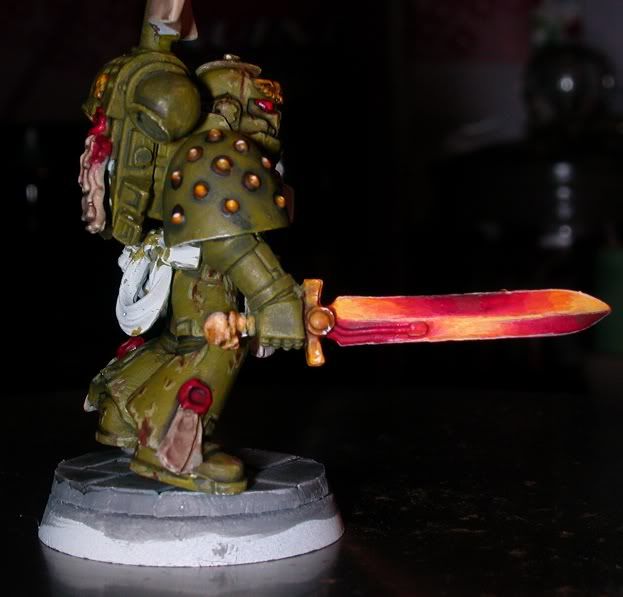
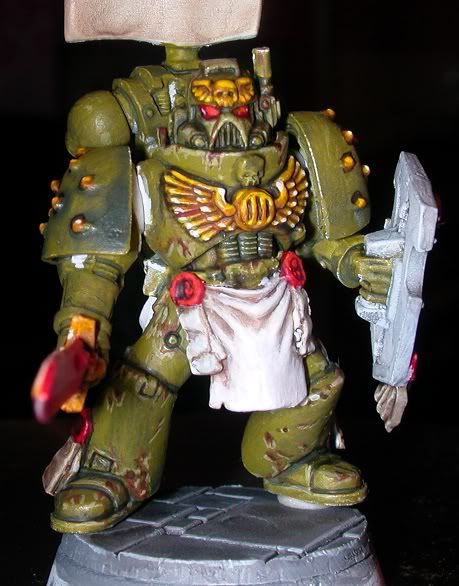
3rd is a Marine, I'm so excited how this is coming out so far, I like the green colour I have, I have weathered the body and helmet so far (not the pauldrons, arms or backpack) but this is my 1st try with the crystal weapon and my 1st attempt at any kind of NMM on the gold eagle on the chest and helm. I am however pretty stuck about the shield and banner. Again I think im scared to commit to any freehand as I havn't had any experiance with this.
Any thoughts or suggestions would be greatly appreciated, sorry for the photos not being great, I have lost my tripod somewhere and do not have a light box yet. I'd like to become more of a part of this fantastic community instead of a lonely painter out in the fog of lurking.
Thanks in advance, Paul.
1st is a eldar harlyquin, prolly the most completed but I feel it's lacking in something, I'm trying to pluck up the courage to do some freehand on the jacket/cloak but am petrified I'll screw up the paintjob so far.


2nd is a Necron painted in a bone enamel colour, heavily weathered to look like its been dormant in a not so great enviroment for decades. I've made good progress with the model, keeping my colour pallete faily limited to keep a orange tone to the whole fig, but have got stuck with the weapon. I'm trying to keep all OSL sources a yellow colout to tie in the the pallete but just am unsure of colours for the actuall weapon body and barrel. Should I bring in another colour or stick with the tone I have?


3rd is a Marine, I'm so excited how this is coming out so far, I like the green colour I have, I have weathered the body and helmet so far (not the pauldrons, arms or backpack) but this is my 1st try with the crystal weapon and my 1st attempt at any kind of NMM on the gold eagle on the chest and helm. I am however pretty stuck about the shield and banner. Again I think im scared to commit to any freehand as I havn't had any experiance with this.


Any thoughts or suggestions would be greatly appreciated, sorry for the photos not being great, I have lost my tripod somewhere and do not have a light box yet. I'd like to become more of a part of this fantastic community instead of a lonely painter out in the fog of lurking.
Thanks in advance, Paul.

