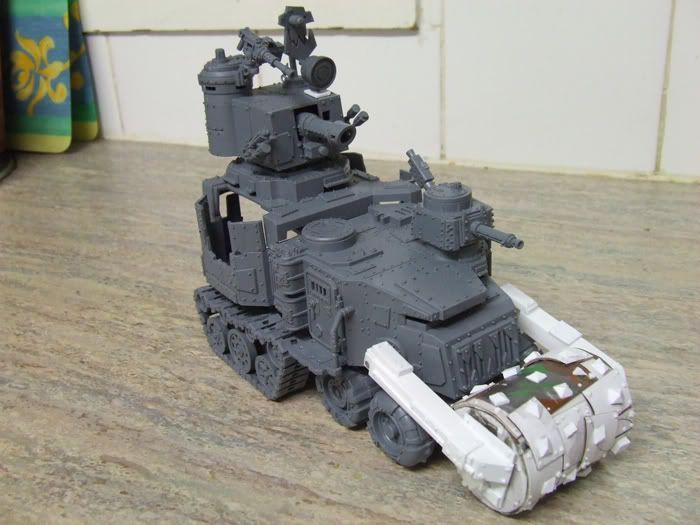
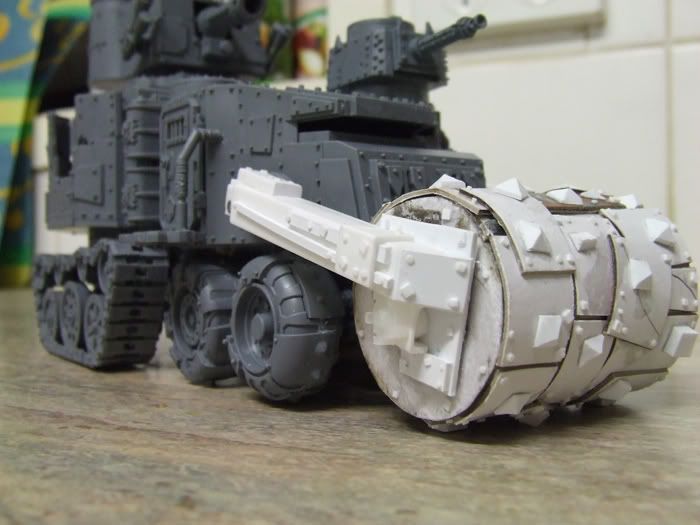
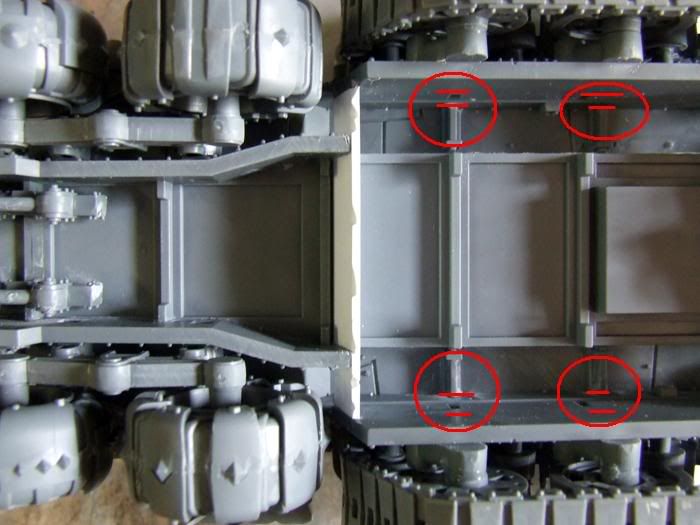
Ok, here\'s some extra pics for those eager to try something similar to what I\'ve done!

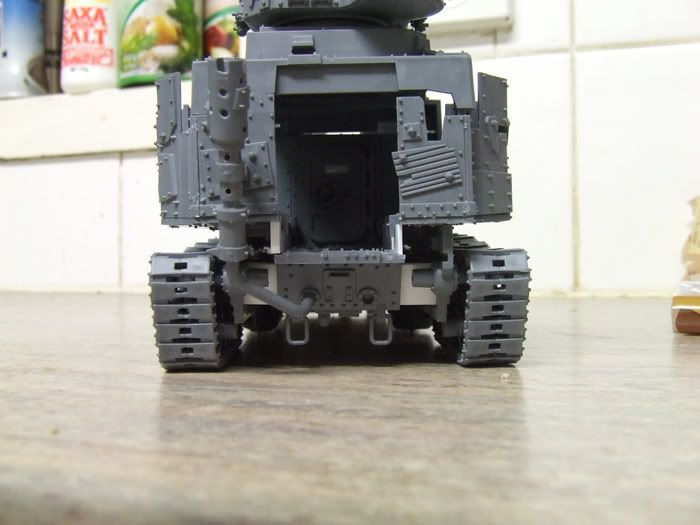
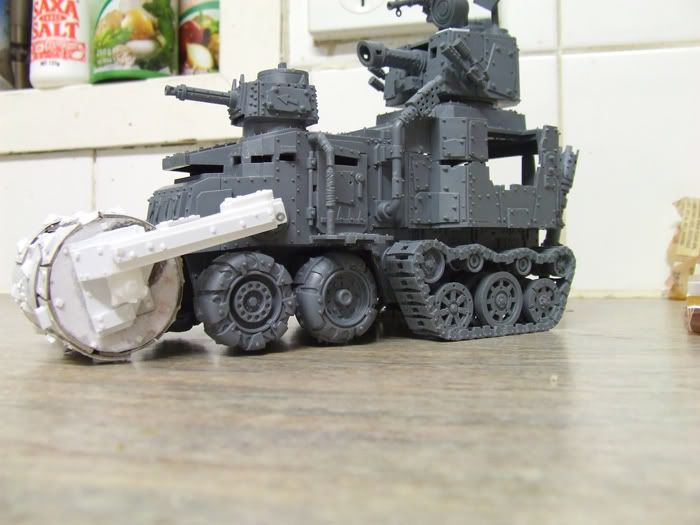
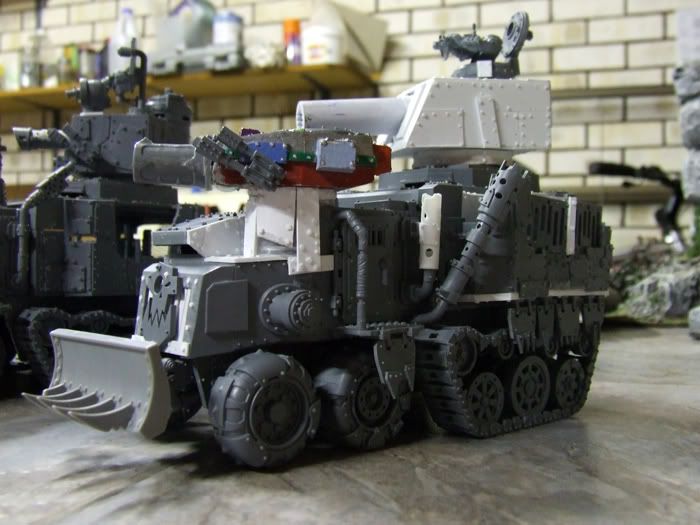
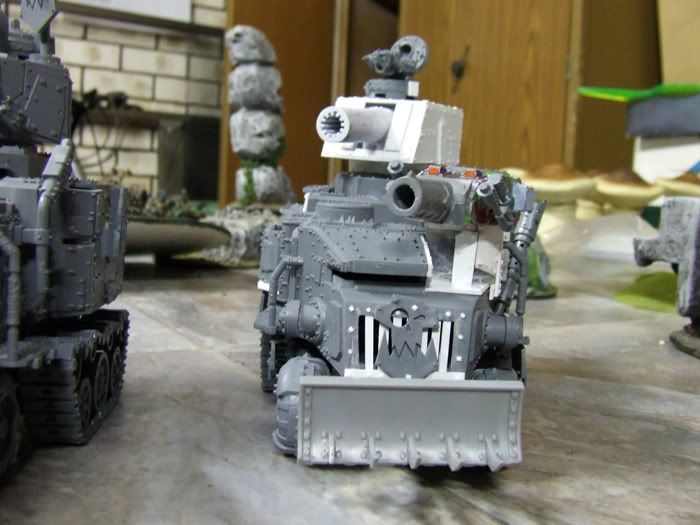
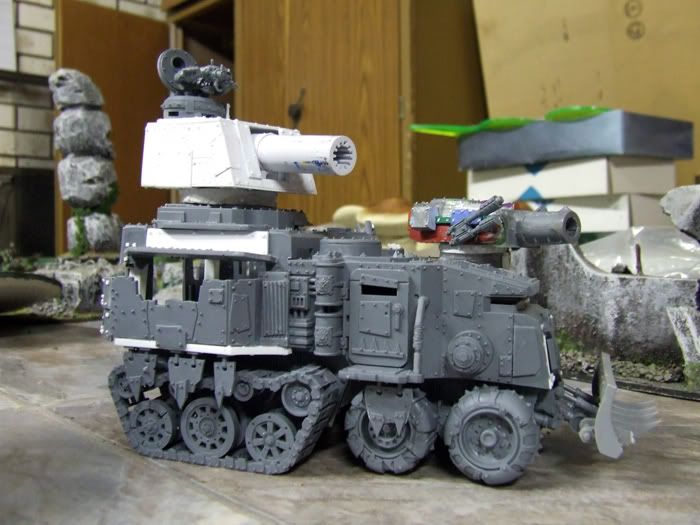
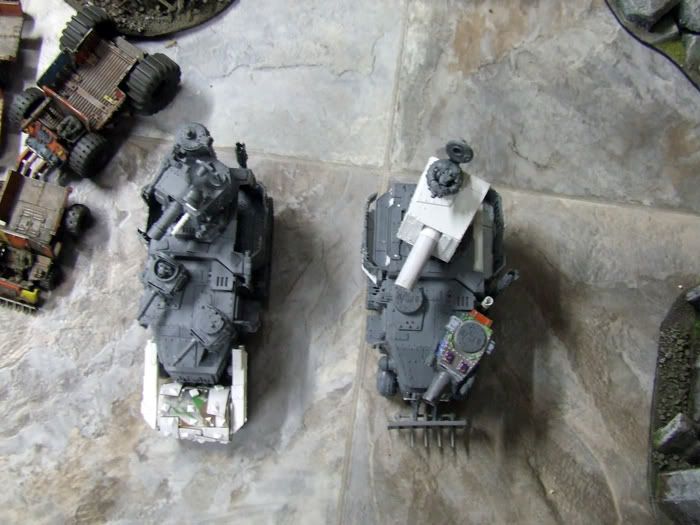
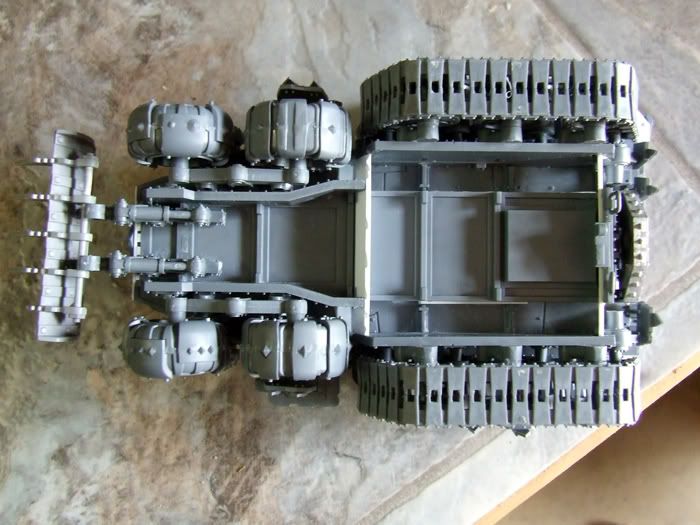
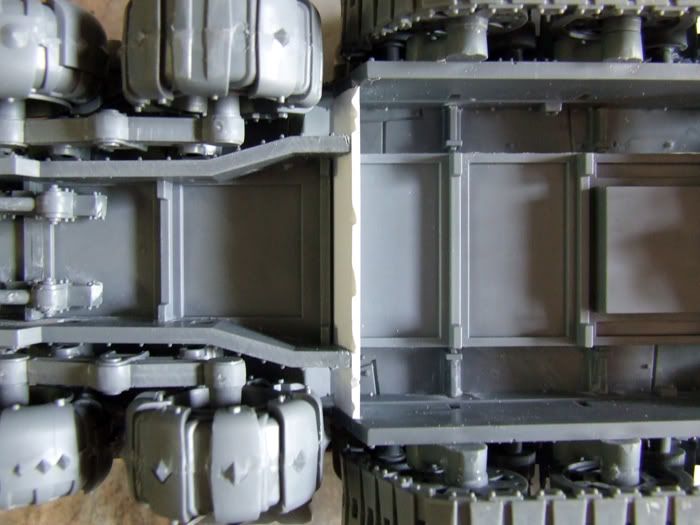
I\'ve taken a few pics of the undercarriage to give you an idea of what I did and how it looks, and I found a pre-release pic of the sprue layout that let me show you a mockup of where to cut the important sections.
Here\'s some pics for you to peruse:
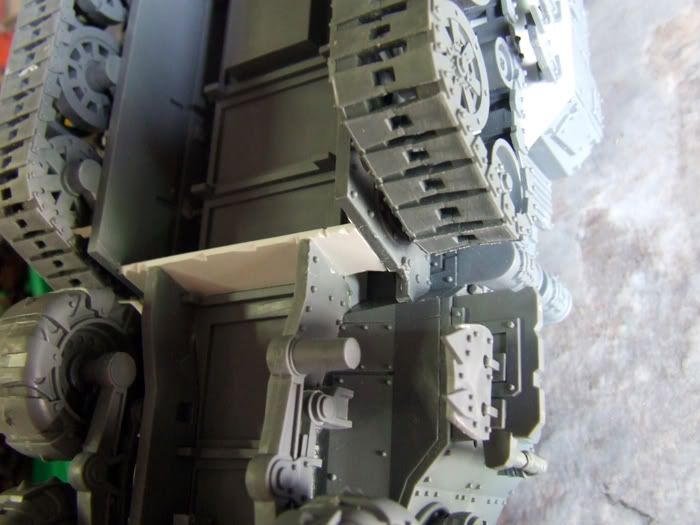
As best a view as I can get of the side of the piece:
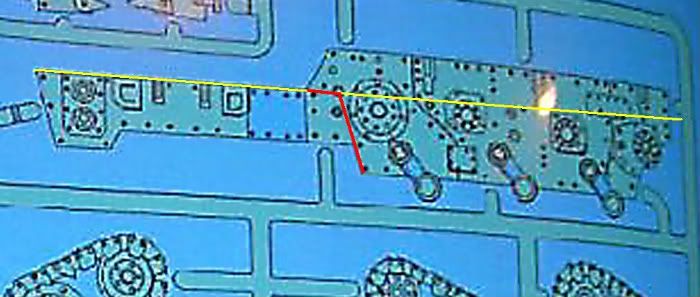
And here\'s a rough example of where to cut:
The red line indicates the cut lines. The yellow line indicates where the wagon tray slot runs. The idea is to cut at an angle to this slot and the go straight from there along. you can just cut it at the angle all the way if you want, but you need to trim it a bit to fit the wheels in if you do it that way. I think this way ends up a bit neater. I actually cut it straight along at the angle on the first one, and the second one I fiddled it a bit more. I prefer the end result of the second cut method. You\'ll also notice I put a piece of plasticard into the breach of the cut in the model, this is to lend strength to it.
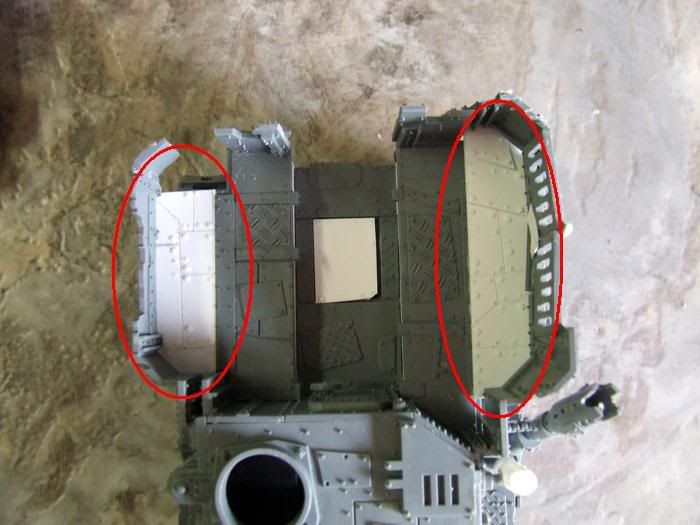
In this pic I have circled the added tray areas. I cut off the old tray sides and replaced them with these which are slightly wider. Not much but enough to make a big difference. I deliberately made one squared off because - well - i wanted to. And the panel lines on these have been scratched in using a steel rule and one of my sculpting tools. They are actually engineers picks, and I have a whole set of them. The tool I used have a sharp end and being a pick is designed to scratch stuff.
A tip for all those rivet makers - here\'s how I do it.
I use a combination of methods and any one of which will help out. Lately, on the smaller stuff like this, I get various thicknesses and types of plastic rod. I like to mix up square and round and I wish I could get some hexagonal that would be sweet. Then I cut off thin slices of the rods and pile them all together. After that, I use something to hold a small pool of superglue and using a very sharp small stanley blade, I pick each rivet up with the sharp tip and dip it into the superglue. Then I put the rivet where I want.
Another way I get my rivets is to use a hand punch. I haven\'t been able to get one smaller than 1/16\" but it still works fine. I also have a 1/8\" and also use a standard paper hole puncher. These can be used on card (although it\'s not very reliable on card as it tends to split in the thicker sizes) and various plastics like old ice cream containers. I like to stack up different shapes and sizes into nut-bolt-washer type configurations on my larger scratchbuilds and use those for added detail. If I could fine a hex punch I would be in HEAVEN

I do also have a 1/8\" square hand punch, so I get a nice variation of shapes.
One other thing I sometimes do, and it\'s really annoying, is to get the square pieces and carefully cut off the corners to give a \"sortof\" hex shape. I do it a little bit it\'s pretty fiddly.
Be careful with some plastics as they resist superglue and others may be melted by it.
Anyway, hope this is useful

