CDamage\'s WIPs [Deathwing Master/Sergent)

cdamage

New member
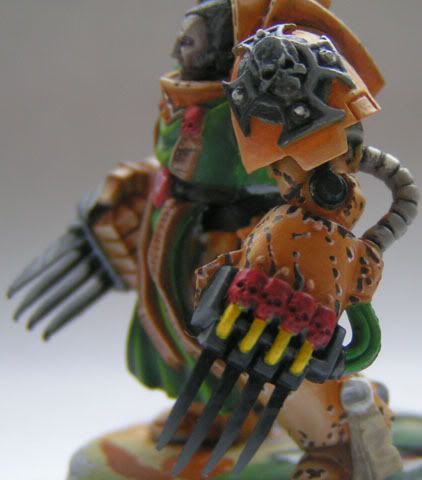
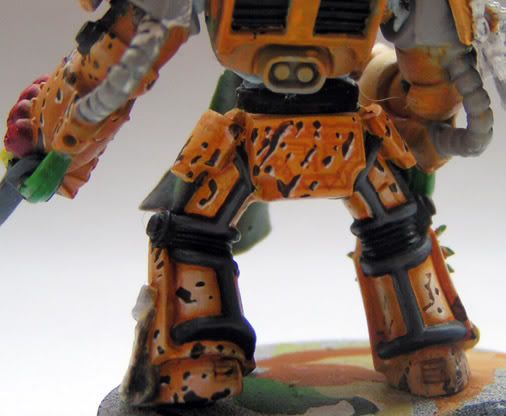
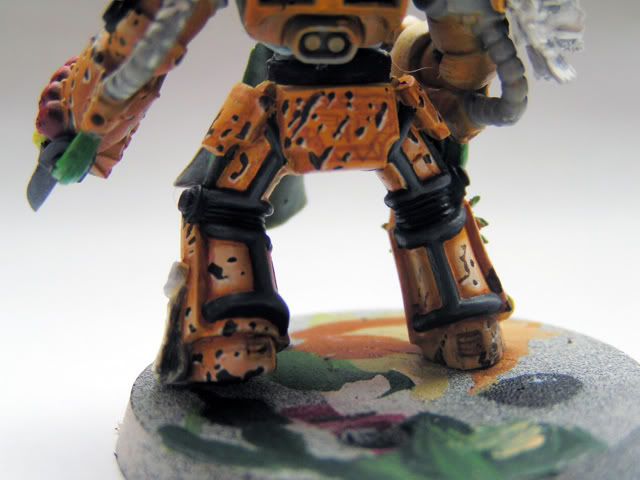
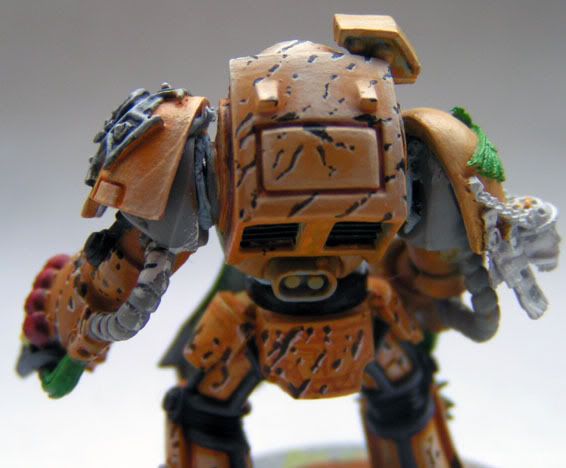
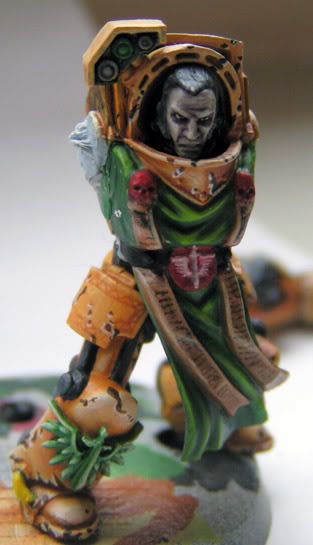
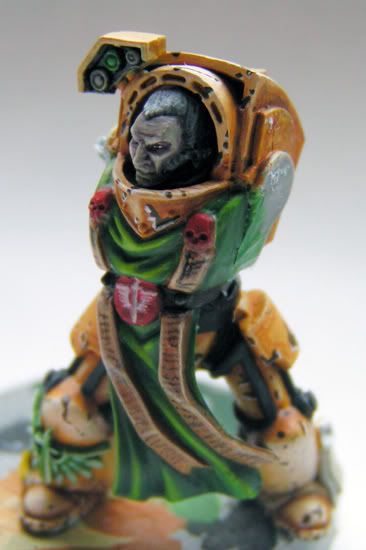
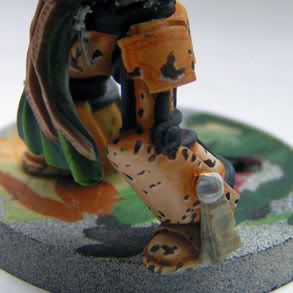
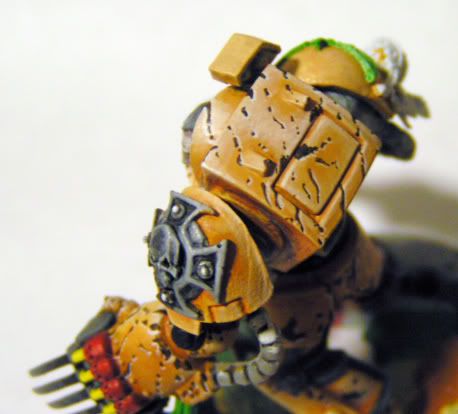
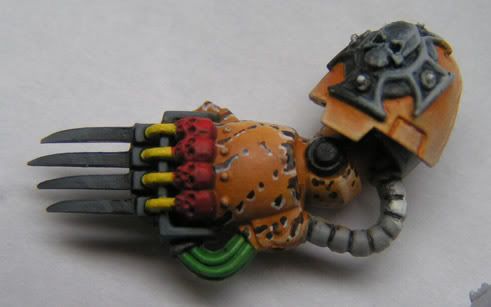
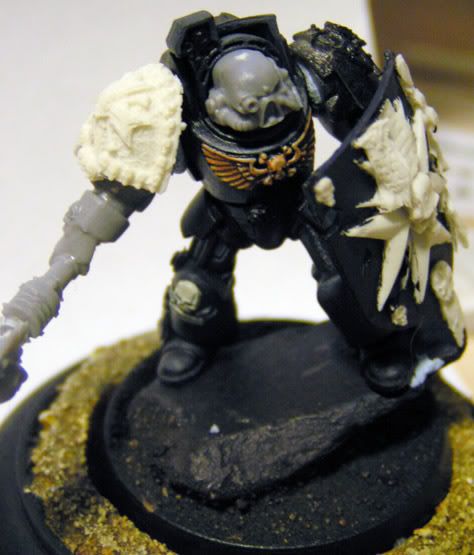
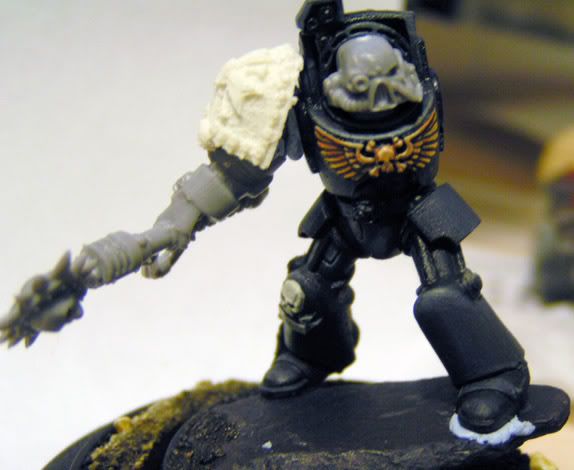
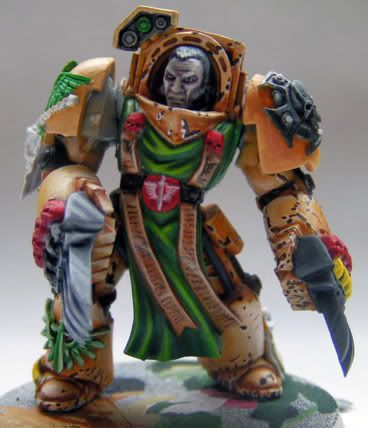
This is my WIP Deathwing Terminator, as you can see some parts are far more finnished than others, excuse messy blends and unpainted sections, they will obviously be delt with. I added the battle damage yesterday. I know hes a bit too gold for regular DW colours, but that doesnt bother me too much. Hes not glued or based yet so thats why the weird pose. Comments and advice welcome! First post, please forgive any messing about. Thanks People!

EDit: Sorted pics out. Sorry about that! It should say in the FAQ or a sticky about photobucket.
PICT1184.jpg


PICT1186.jpg


PICT1189.jpg


PICT1190.jpg


PICT1191.jpg


PICT1195.jpg


PICT1196.jpg


PICT1197.jpg


PICT1181.jpg


PICT1198.jpg


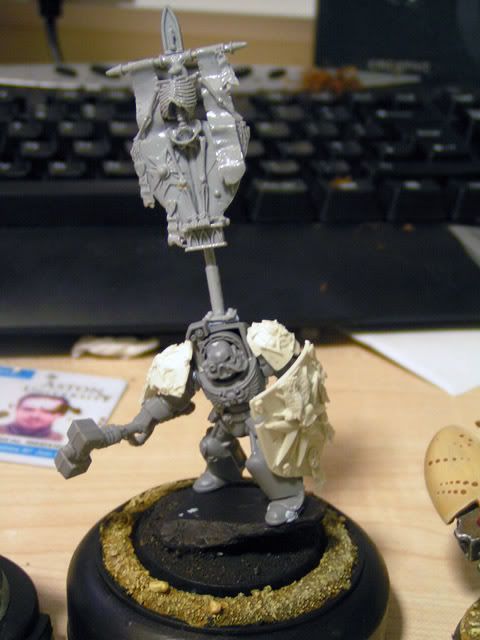
And heres the next project in a very prototype sort of way.
btcp.jpg


sorted.

[Edit - Some More WIPs/Nearly Complete Paintjobs]
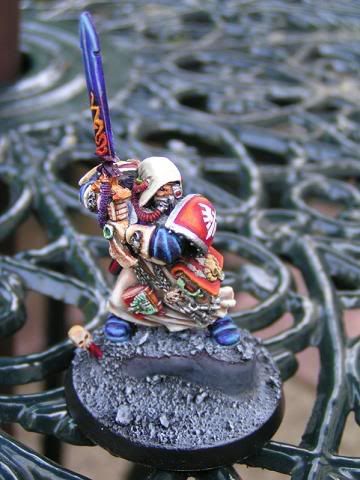
PICT0568.jpg


PICT0857.jpg


moreumsarg.jpg
 

Larre

New member
you have to upload your pics on photobucket and copy the img code to the reply square.

// Larre
 

electrolito 77

New member
Not bad! I like the fact that since you are doing Battle Damage the actual armour is not completely white but a bubonic shade. The only thing I suggest is for your next mini, when you are doing battle damage, do it in an irregular pattern as much as possible. The reason I say this is because as I can see on this mini, most of the scratches tend to slant down to the left in line with the others, and most of the damage is done on the flat areas of the armour itself and not enough (in volume comparison) with the edges of the armour which technically would shed the paint off first.

The green on the Loin cloth is superbly painted but the colors seem a bit bright for a battle damaged loincloth... maybe some darker shades of green and toning down the highlights to a slightly darker final, or maybe adding some browns and dark blues on the green can make some really nice contrast whilst keeping it dark.

Dont mind me being so straight forward, You are off to a good start my friend... I just like it when people do it with me cause it helps me understand what I maybe overlook or never had a second view of. Keep it going I will follow this thread too...

Mike
 

cdamage

New member
Originally posted by electrolito 77
Not bad! I like the fact that since you are doing Battle Damage the actual armour is not completely white but a bubonic shade. The only thing I suggest is for your next mini, when you are doing battle damage, do it in an irregular pattern as much as possible. The reason I say this is because as I can see on this mini, most of the scratches tend to slant down to the left in line with the others, and most of the damage is done on the flat areas of the armour itself and not enough (in volume comparison) with the edges of the armour which technically would shed the paint off first.

The green on the Loin cloth is superbly painted but the colors seem a bit bright for a battle damaged loincloth... maybe some darker shades of green and toning down the highlights to a slightly darker final, or maybe adding some browns and dark blues on the green can make some really nice contrast whilst keeping it dark.

Dont mind me being so straight forward, You are off to a good start my friend... I just like it when people do it with me cause it helps me understand what I maybe overlook or never had a second view of. Keep it going I will follow this thread too...

Mike

Thanks man, yeah i figured it would be impossible to get the necessary contrast with the white lowlights on the scratches on standard DW white. Thanks for the advice on the damage, i certainly see what you mean, i\'l work on fixing that as i continue the mini. I\'l also look into dirtying up that loincloth as you say it is very \'freshly laundered\'.

Of course no problems with sayin it like it is, i need to be told and hopefuly it\'l improve my motivation to know people are watching!

Ive fixed a couple of image tags on the first post and added some pics of other WIPs/Nearly dones. Take a look.

Cdamage
 

cdamage

New member
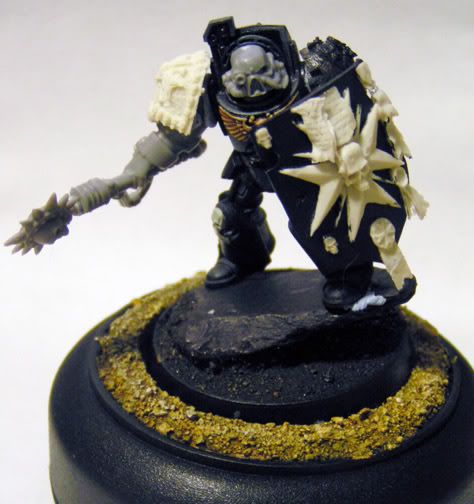
thought id post todays work, this is a BT chaplain. Just highlighted the armour a bit and did the chest eagle/skull today...oh and made his chapain stick from the bit in the terminator kit.

Enjoy!

PICT1252.jpg


PICT1254.jpg


PICT1258.jpg
 

demonherald

New member
welcome to the forums and might I say some good looking work there.

I agree with e77. The battle damge is looking a little regular..Just think about how the damage would occur .. Impact from shots debris dropping on him sword slashes etc....look at real life reference tanks construction vehicles etc.The edges are generally the first to wear ..The bit at the fron the chinguard (I know there\'s probably a better name for it but hey ho) that looks a lot better just a small amount randomly placed.....cool.

agree again about the green ..dpending on the colour you are doing your base take that colour thin it down and paint onton the bottom of the robes and the bottom of the t armour legs ..make it uneven and irregular like splash marks.add white or fortress grey to this colour again very thin and highlight this colour toards the bottom should help.

looking at the bottom pic are the resin pieces not undercoated??? If not this may well cause problems later especially for getting right into the detail bits. resin in particular can be a pain for acting \"paint proof\" just trying to make your job a lot easier it is so much easier to get a smooth flat finish with a nice smooth undercoat.

the other work looks cool.
Ezekiel very nice all round.
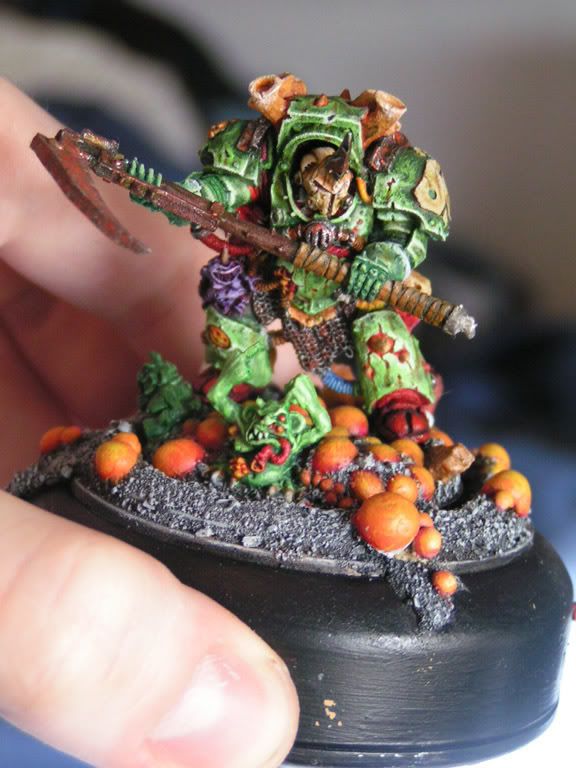
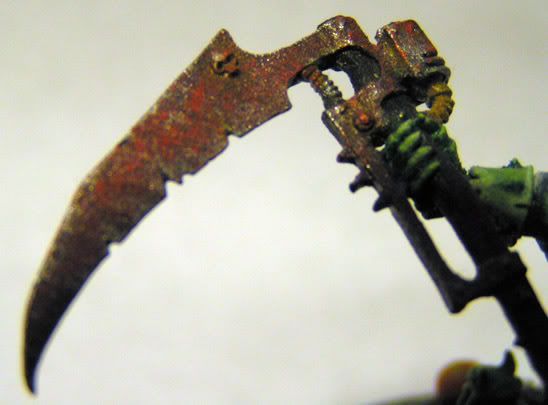
Typhus the rust effect is fantastic.. maybe a bit of glazing with dark brown and purple ink particularly in the recesses and the organic bits will help define them a bit more and lose some of the chalkiness.
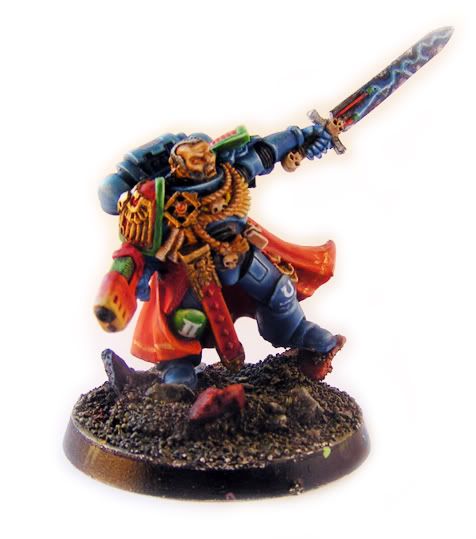
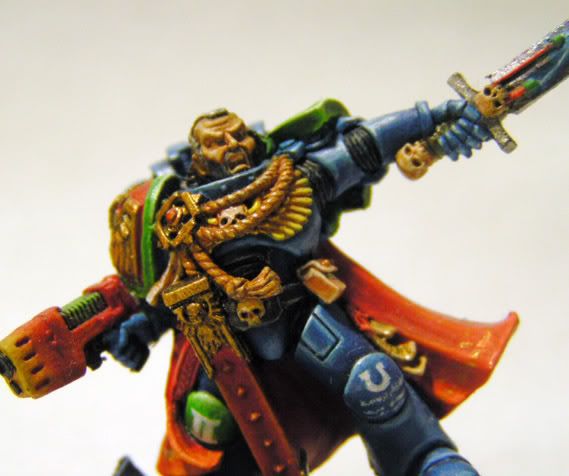
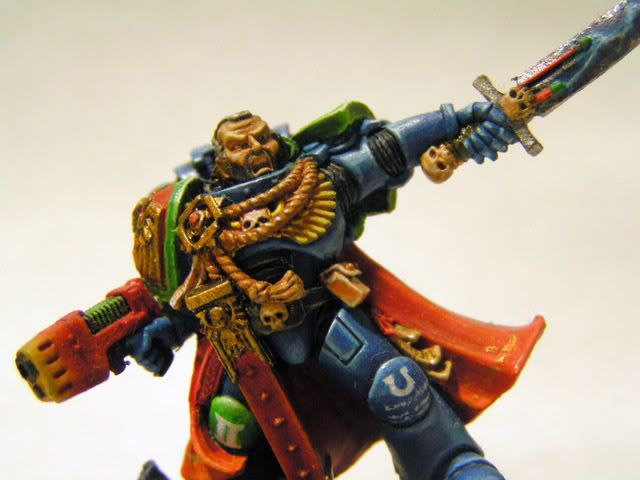
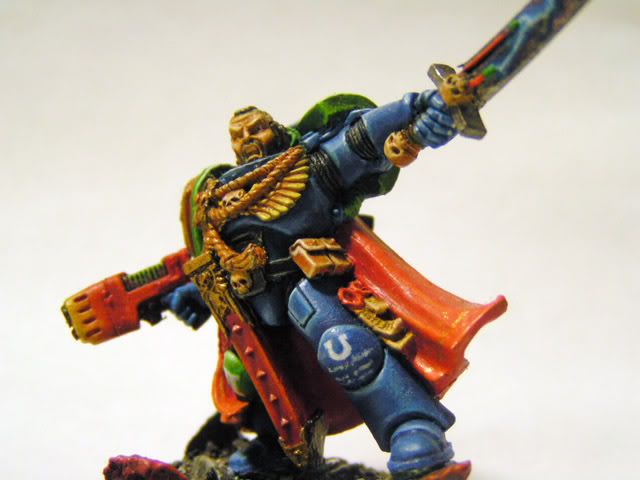
the captain...not a fan of the red looks a bit orangey ..(unless it\'s meant to be orange then that\'s okay...still not a fan) but the armour on that guy is lovely and smooth...

bit of a long un but keep up the good work.
 

cdamage

New member
Hey thanks demonherald im a great admirer of your work, and electrolitos for that matter, great to have feedback from you guys. I\'l definatly take your ideas on board and work with them. Those resin bits arnt done cos im undercoating as i go...only just got a load of forgeworld kit so im seeing what works best for me...can easily give em a woosh with the black primer if needs be. Oh, also i havnt finalised which shoulder pad im gonna use yet...got a few to choose from.

Thanks for the praise on the other minis! its realy encouraging, as you can probably tell i start alot of projects and never quite finnish most of them. Typhus has that chalky look cos i originaly intended to try and paint him in as short a time as possible...then changed my mind. The ultramarines cloak is very orange and has some crude freehand on it...ive never been happy with it but as you say...i am happy with the armour which looks alot more subtle in real life as opposed to photographed in terrible light conditions and corrected in photoshop.

Here are some more pics of the ultramarine, again still in poor light but you can see the armour better and the UM symbol on his knee which im quite proud of. hah. Also theres another pic of Typhuses rusty blade.

Thanks!

CD

PICT1259.jpg


PICT1260.jpg


PICT1269.jpg


PICT1272.jpg
 
Back To Top
Top